Crafting Your Writing Style Preference with My AI Writer
Nicest.ai tailors outreach to match your brand’s voice, ensuring every message feels authentic and engaging. By providing your writing tone preferences, you help the AI craft messages that resonate with your audience—whether that’s professional and polished, casual and friendly, or anywhere in between. The better it understands your style, the more natural and effective your outreach will be.
Step-by-Step Instructions
1
Sign into Your Account
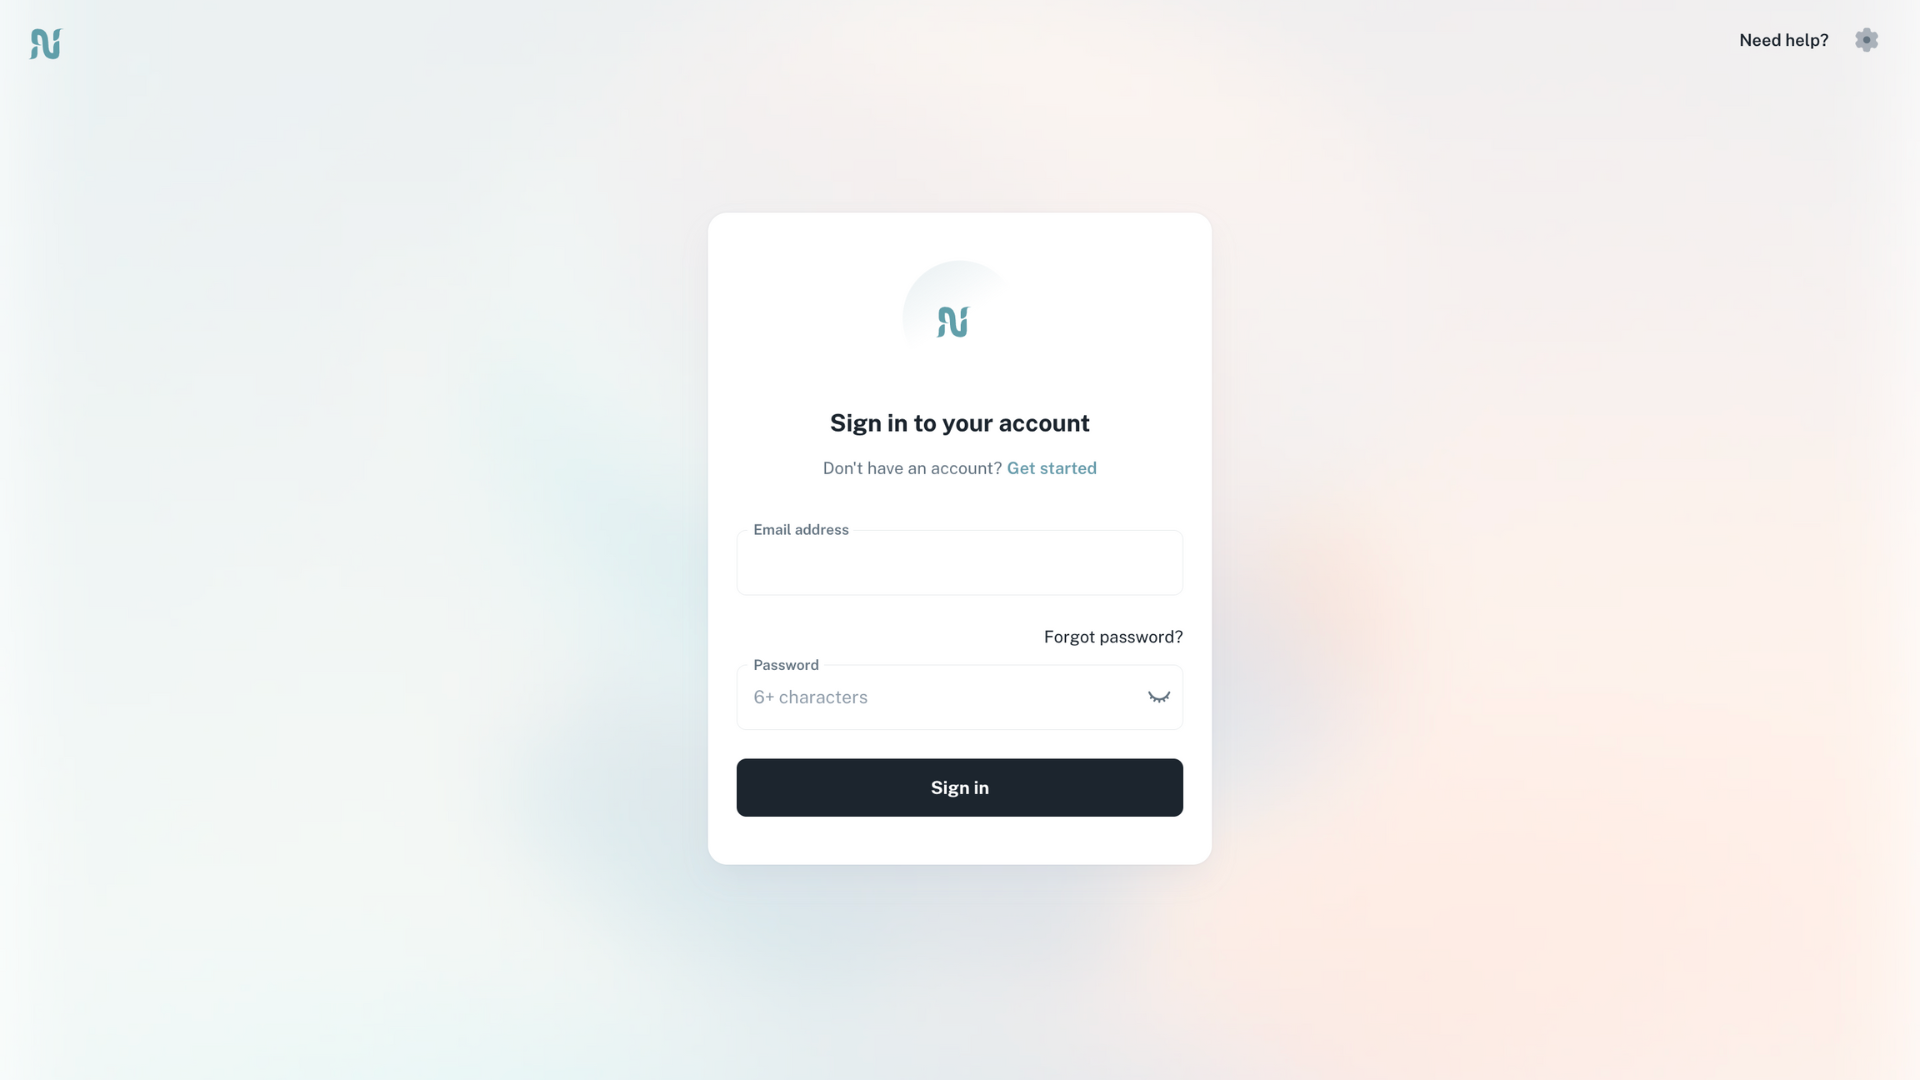
Access your account at app.nicest.ai to begin the process of personalizing your messaging style.
- Make sure to use your correct login credentials.
- A secure login ensures that your settings and preferences are safely stored.
2
Navigate to My AI Writer
Click on the left tab titled 'My AI Writer' to access the writing style customization features.
- Ensure you are on the correct dashboard for AI writing tools.
- This section is specifically designed to tailor your outreach messaging.
Tip
- Bookmark the 'My AI Writer' tab for quicker access in the future.
3
Access the Research Tab
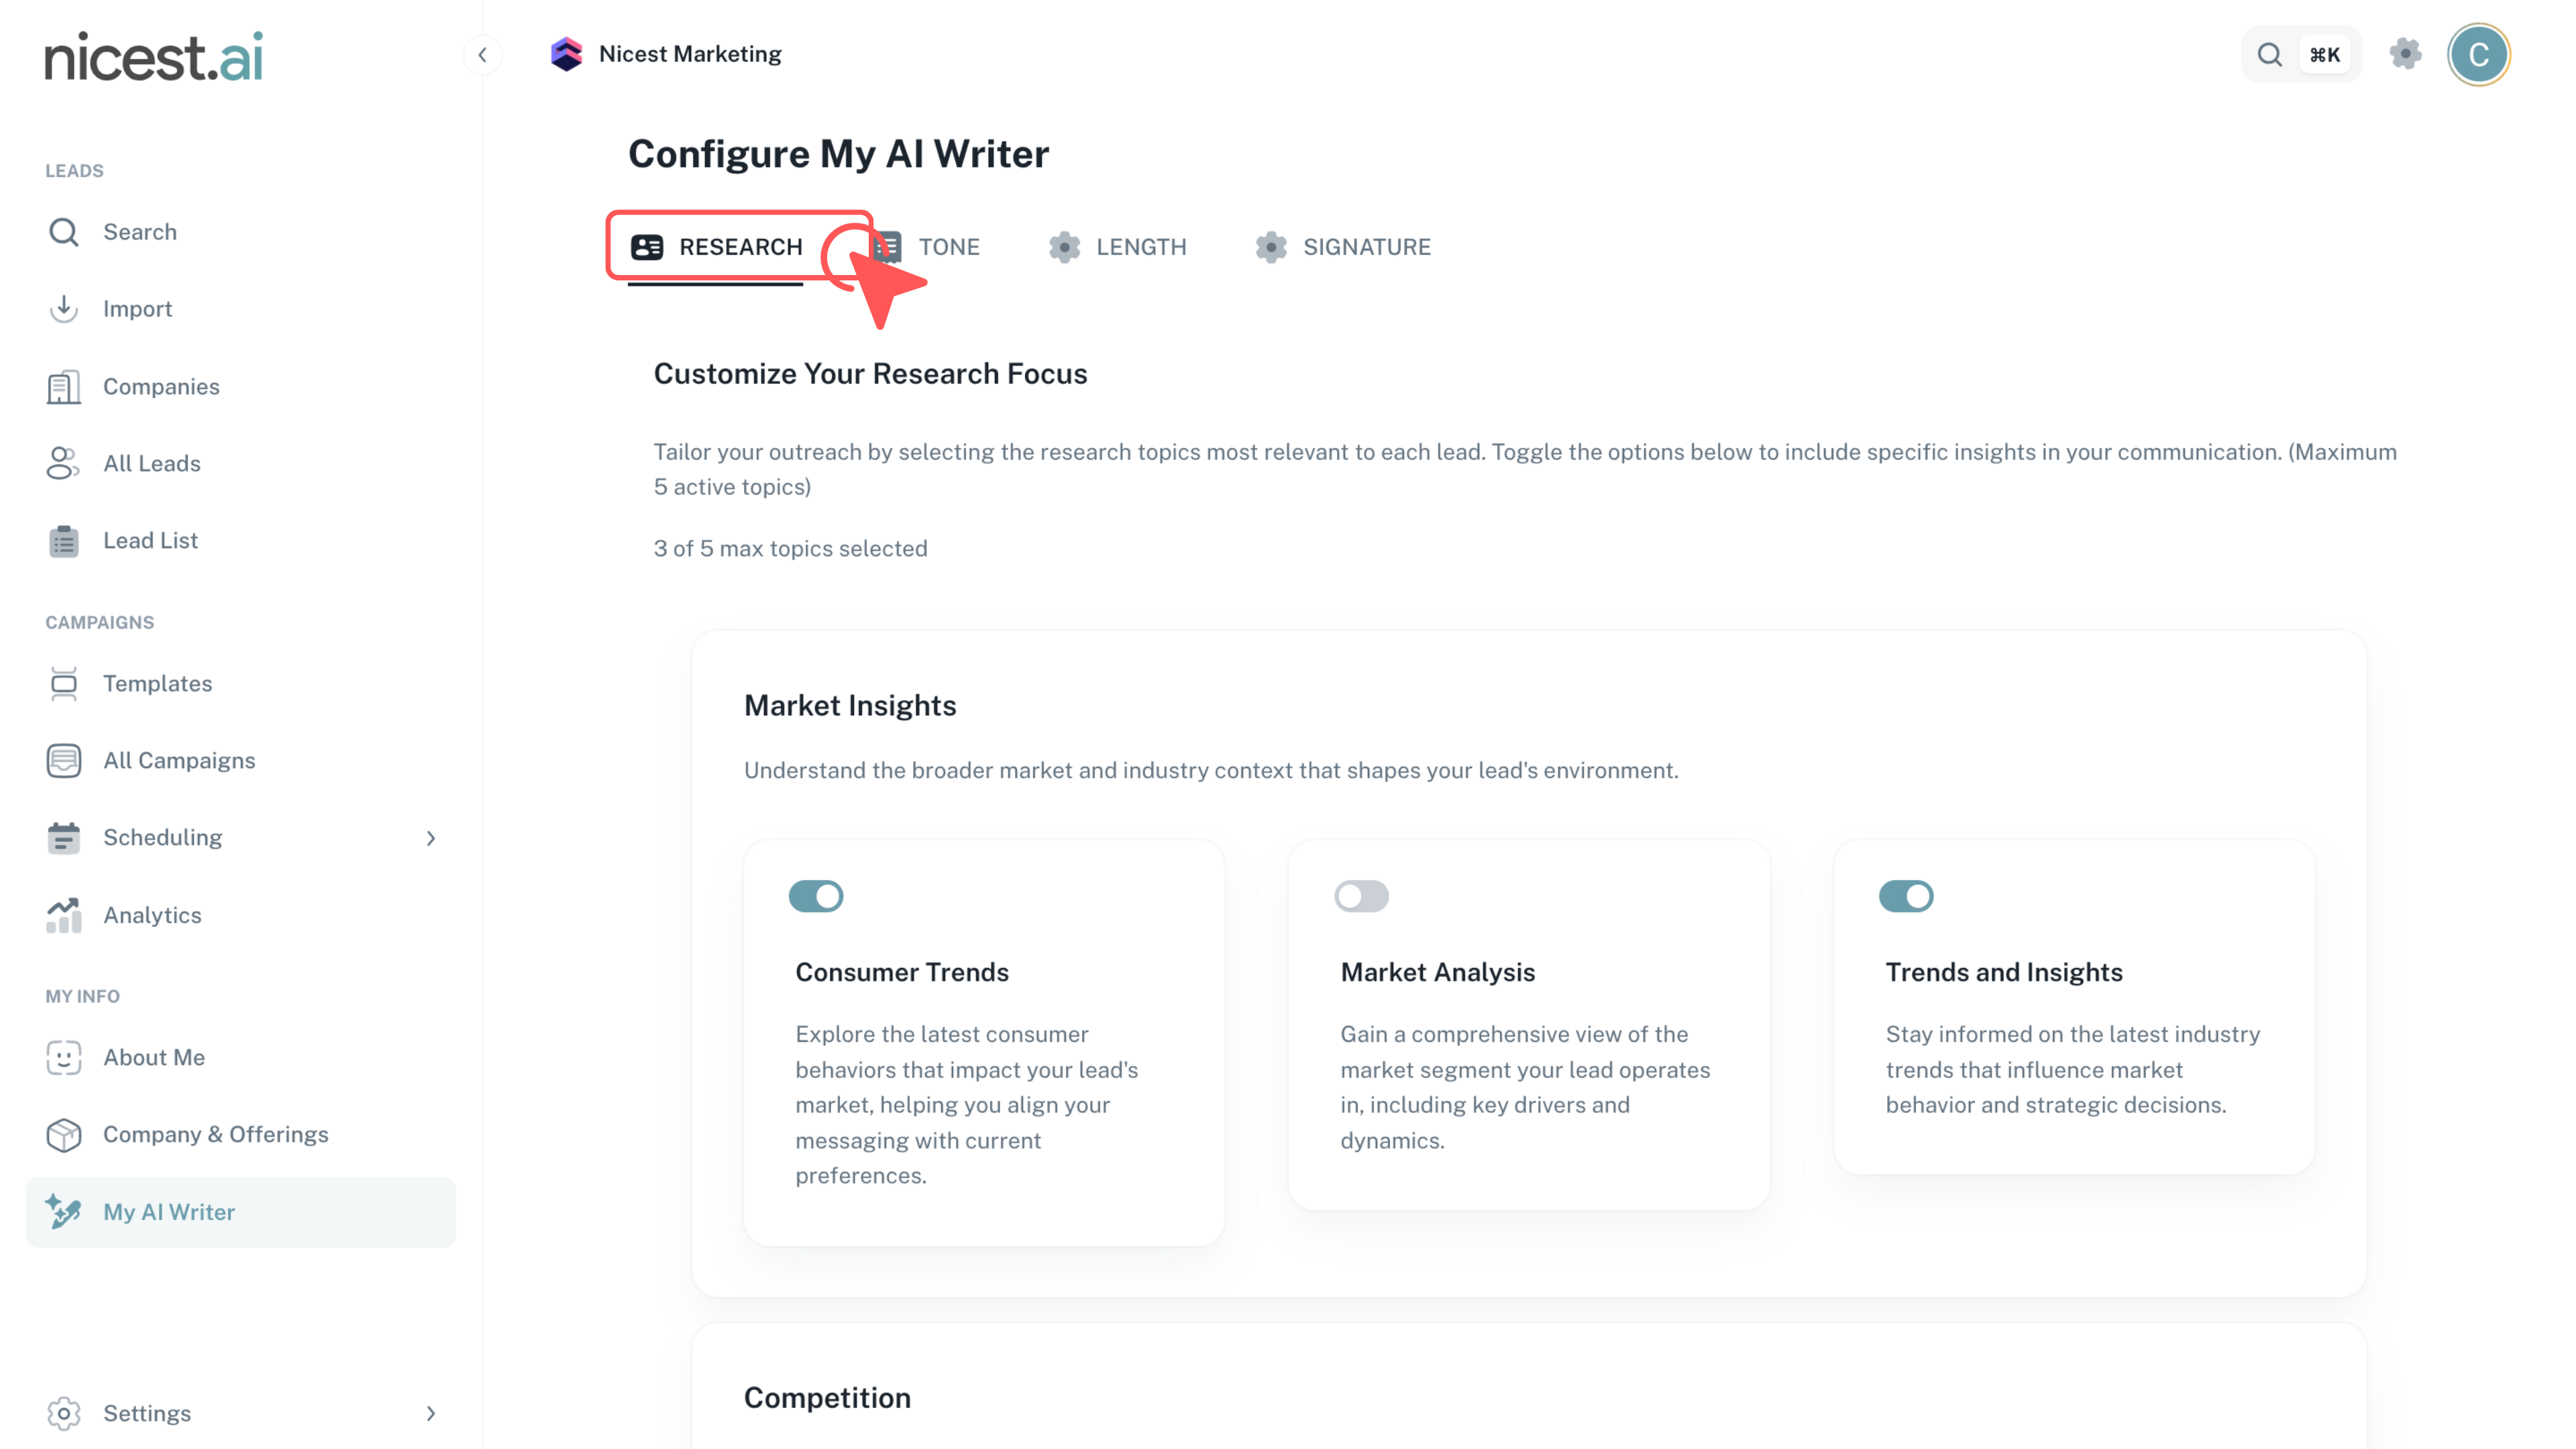
Click the tab titled 'Research' at the top of the screen to incorporate specific insights into your communication.
- The Research tab allows you to select topics that will influence your messaging.
- You can choose up to 5 research topics for precise insights.
4
Select Research Topics
Choose up to 5 research topics to include specific insights that will enhance your communication.
- Selecting relevant topics helps the AI understand your field and target audience.
- Ensure the topics align with your overall communication strategy.
5
Configure Your Tone Settings
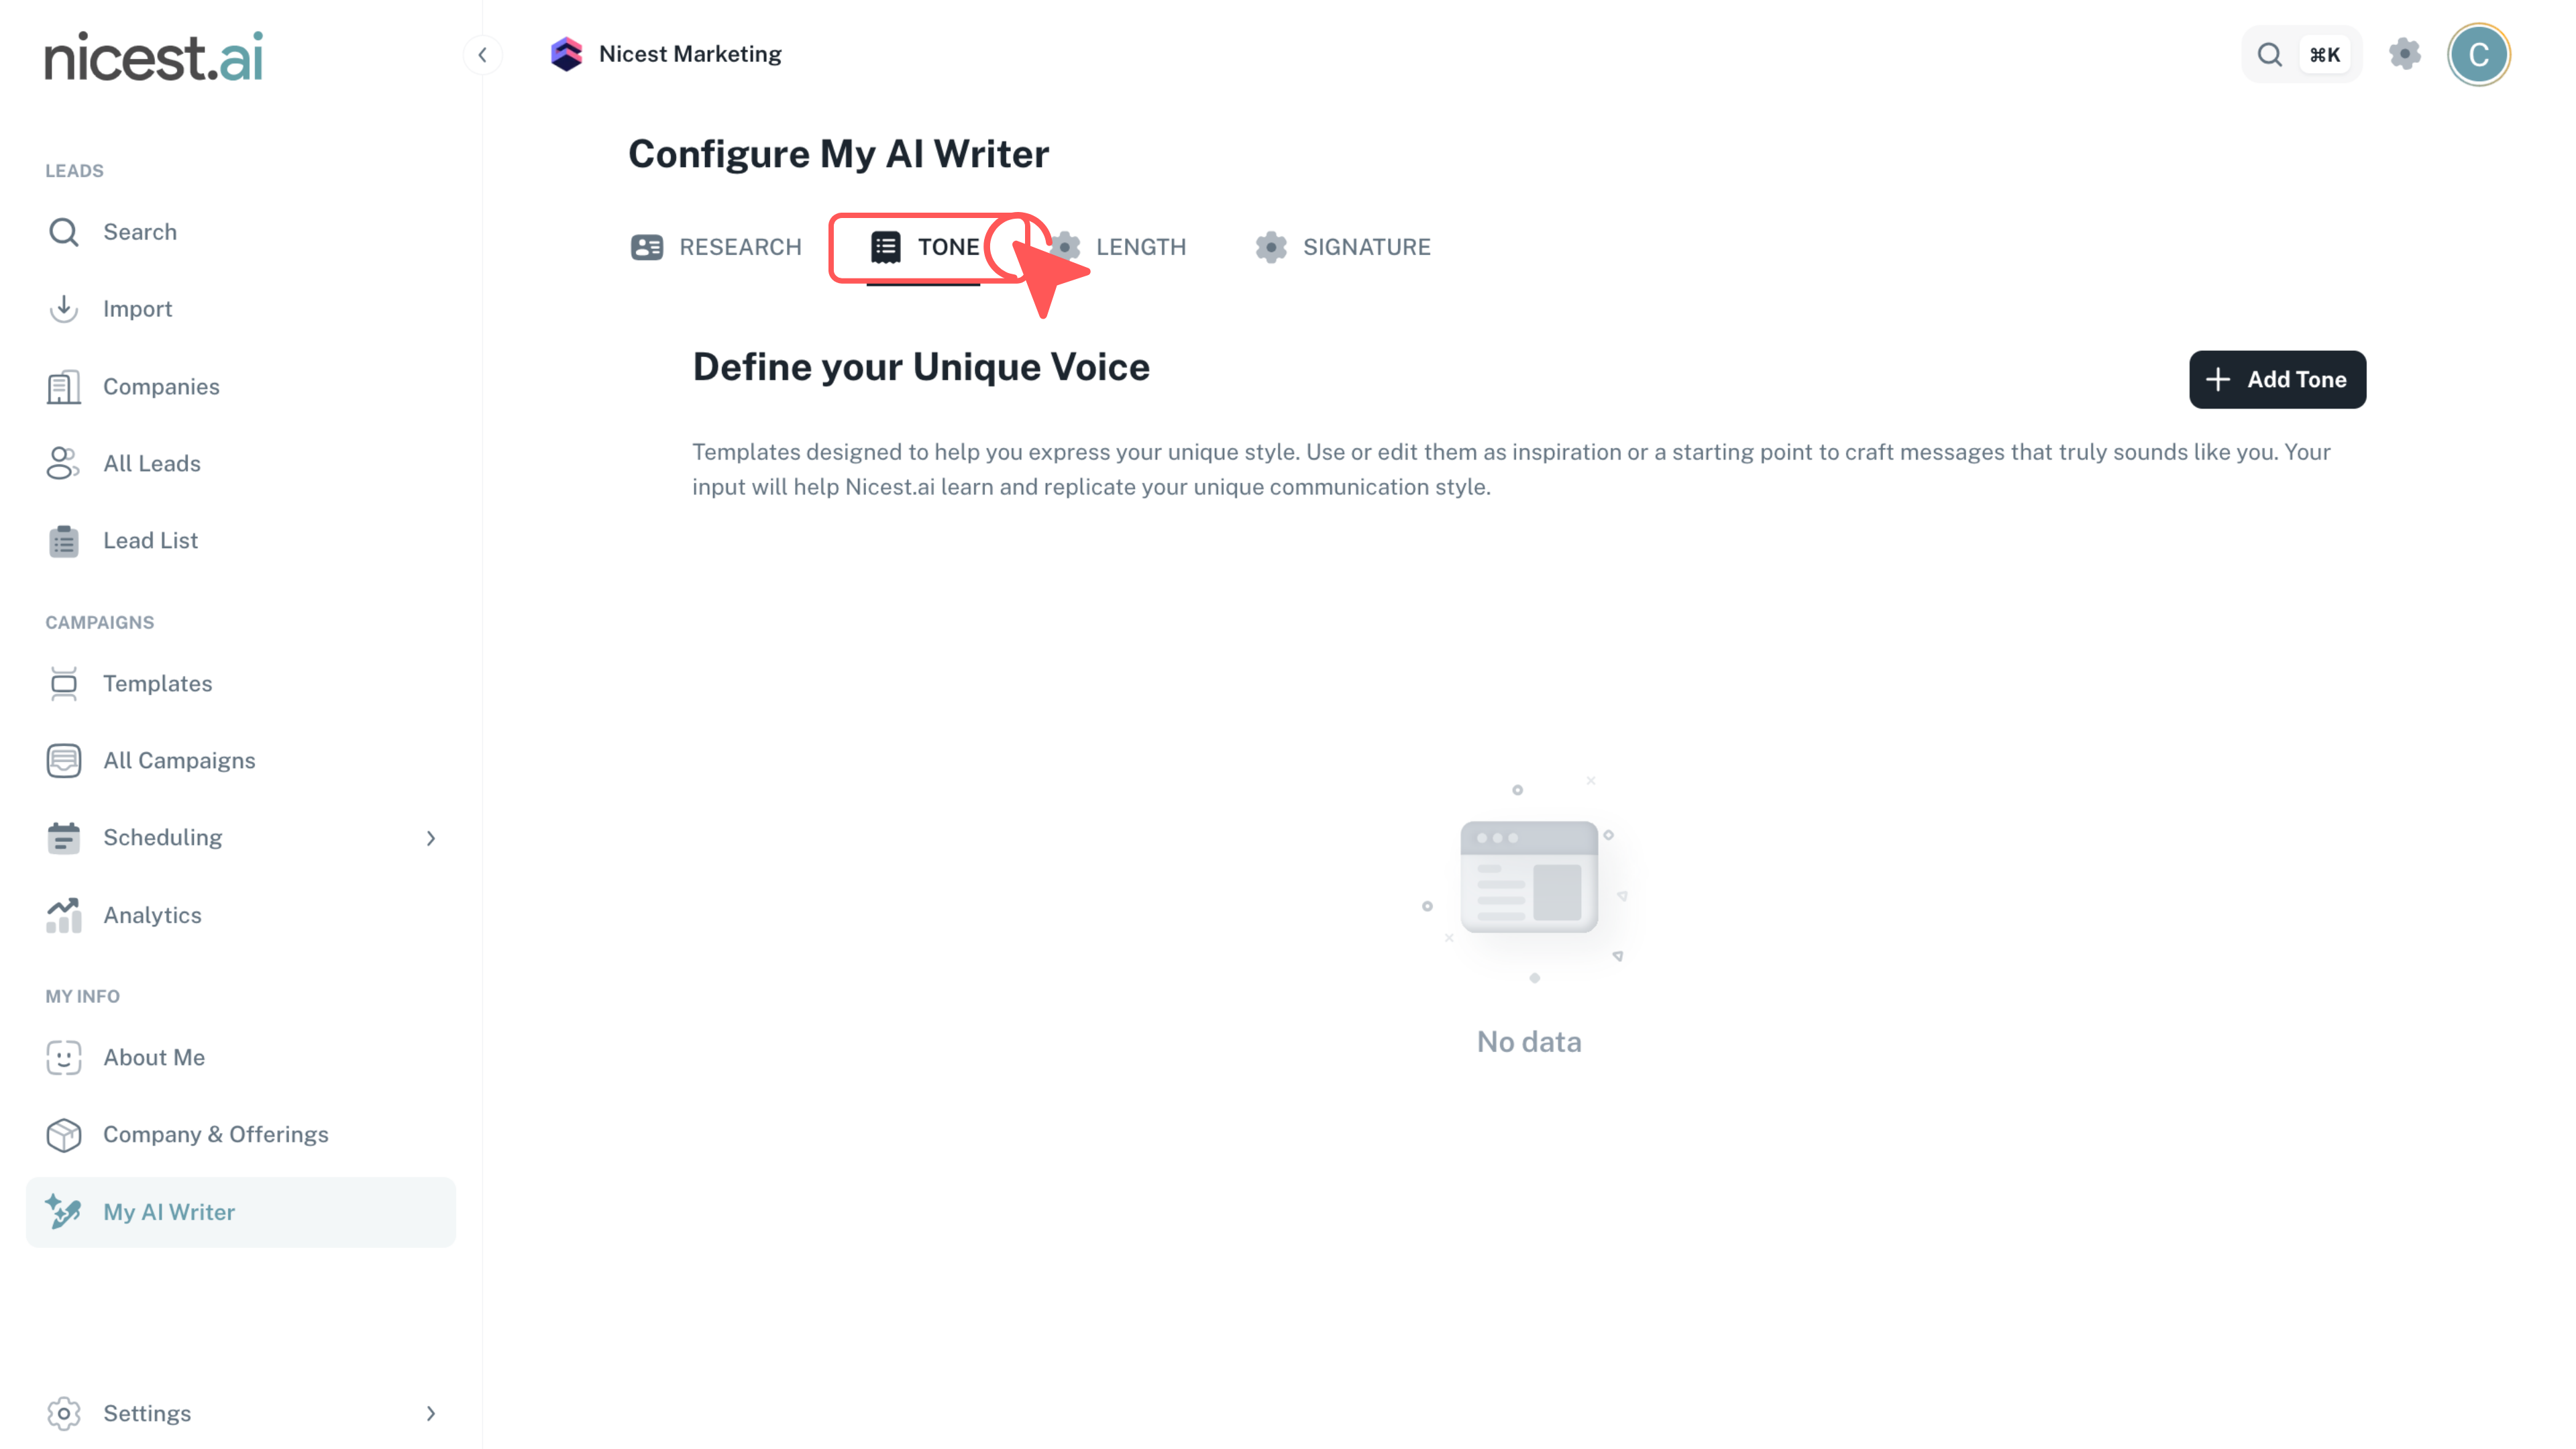
Click the tab titled 'Tone' at the top of the page to begin defining your messaging style.
- This section allows you to specify whether your message should be professional, friendly, or any style in between.
6
Add a New Tone
Click the 'Add Tone' button to start creating a new tone profile for your outreach messages.
- Initiating a new tone ensures that you can customize multiple messaging styles if needed.
7
Fill Out Required Tone Fields
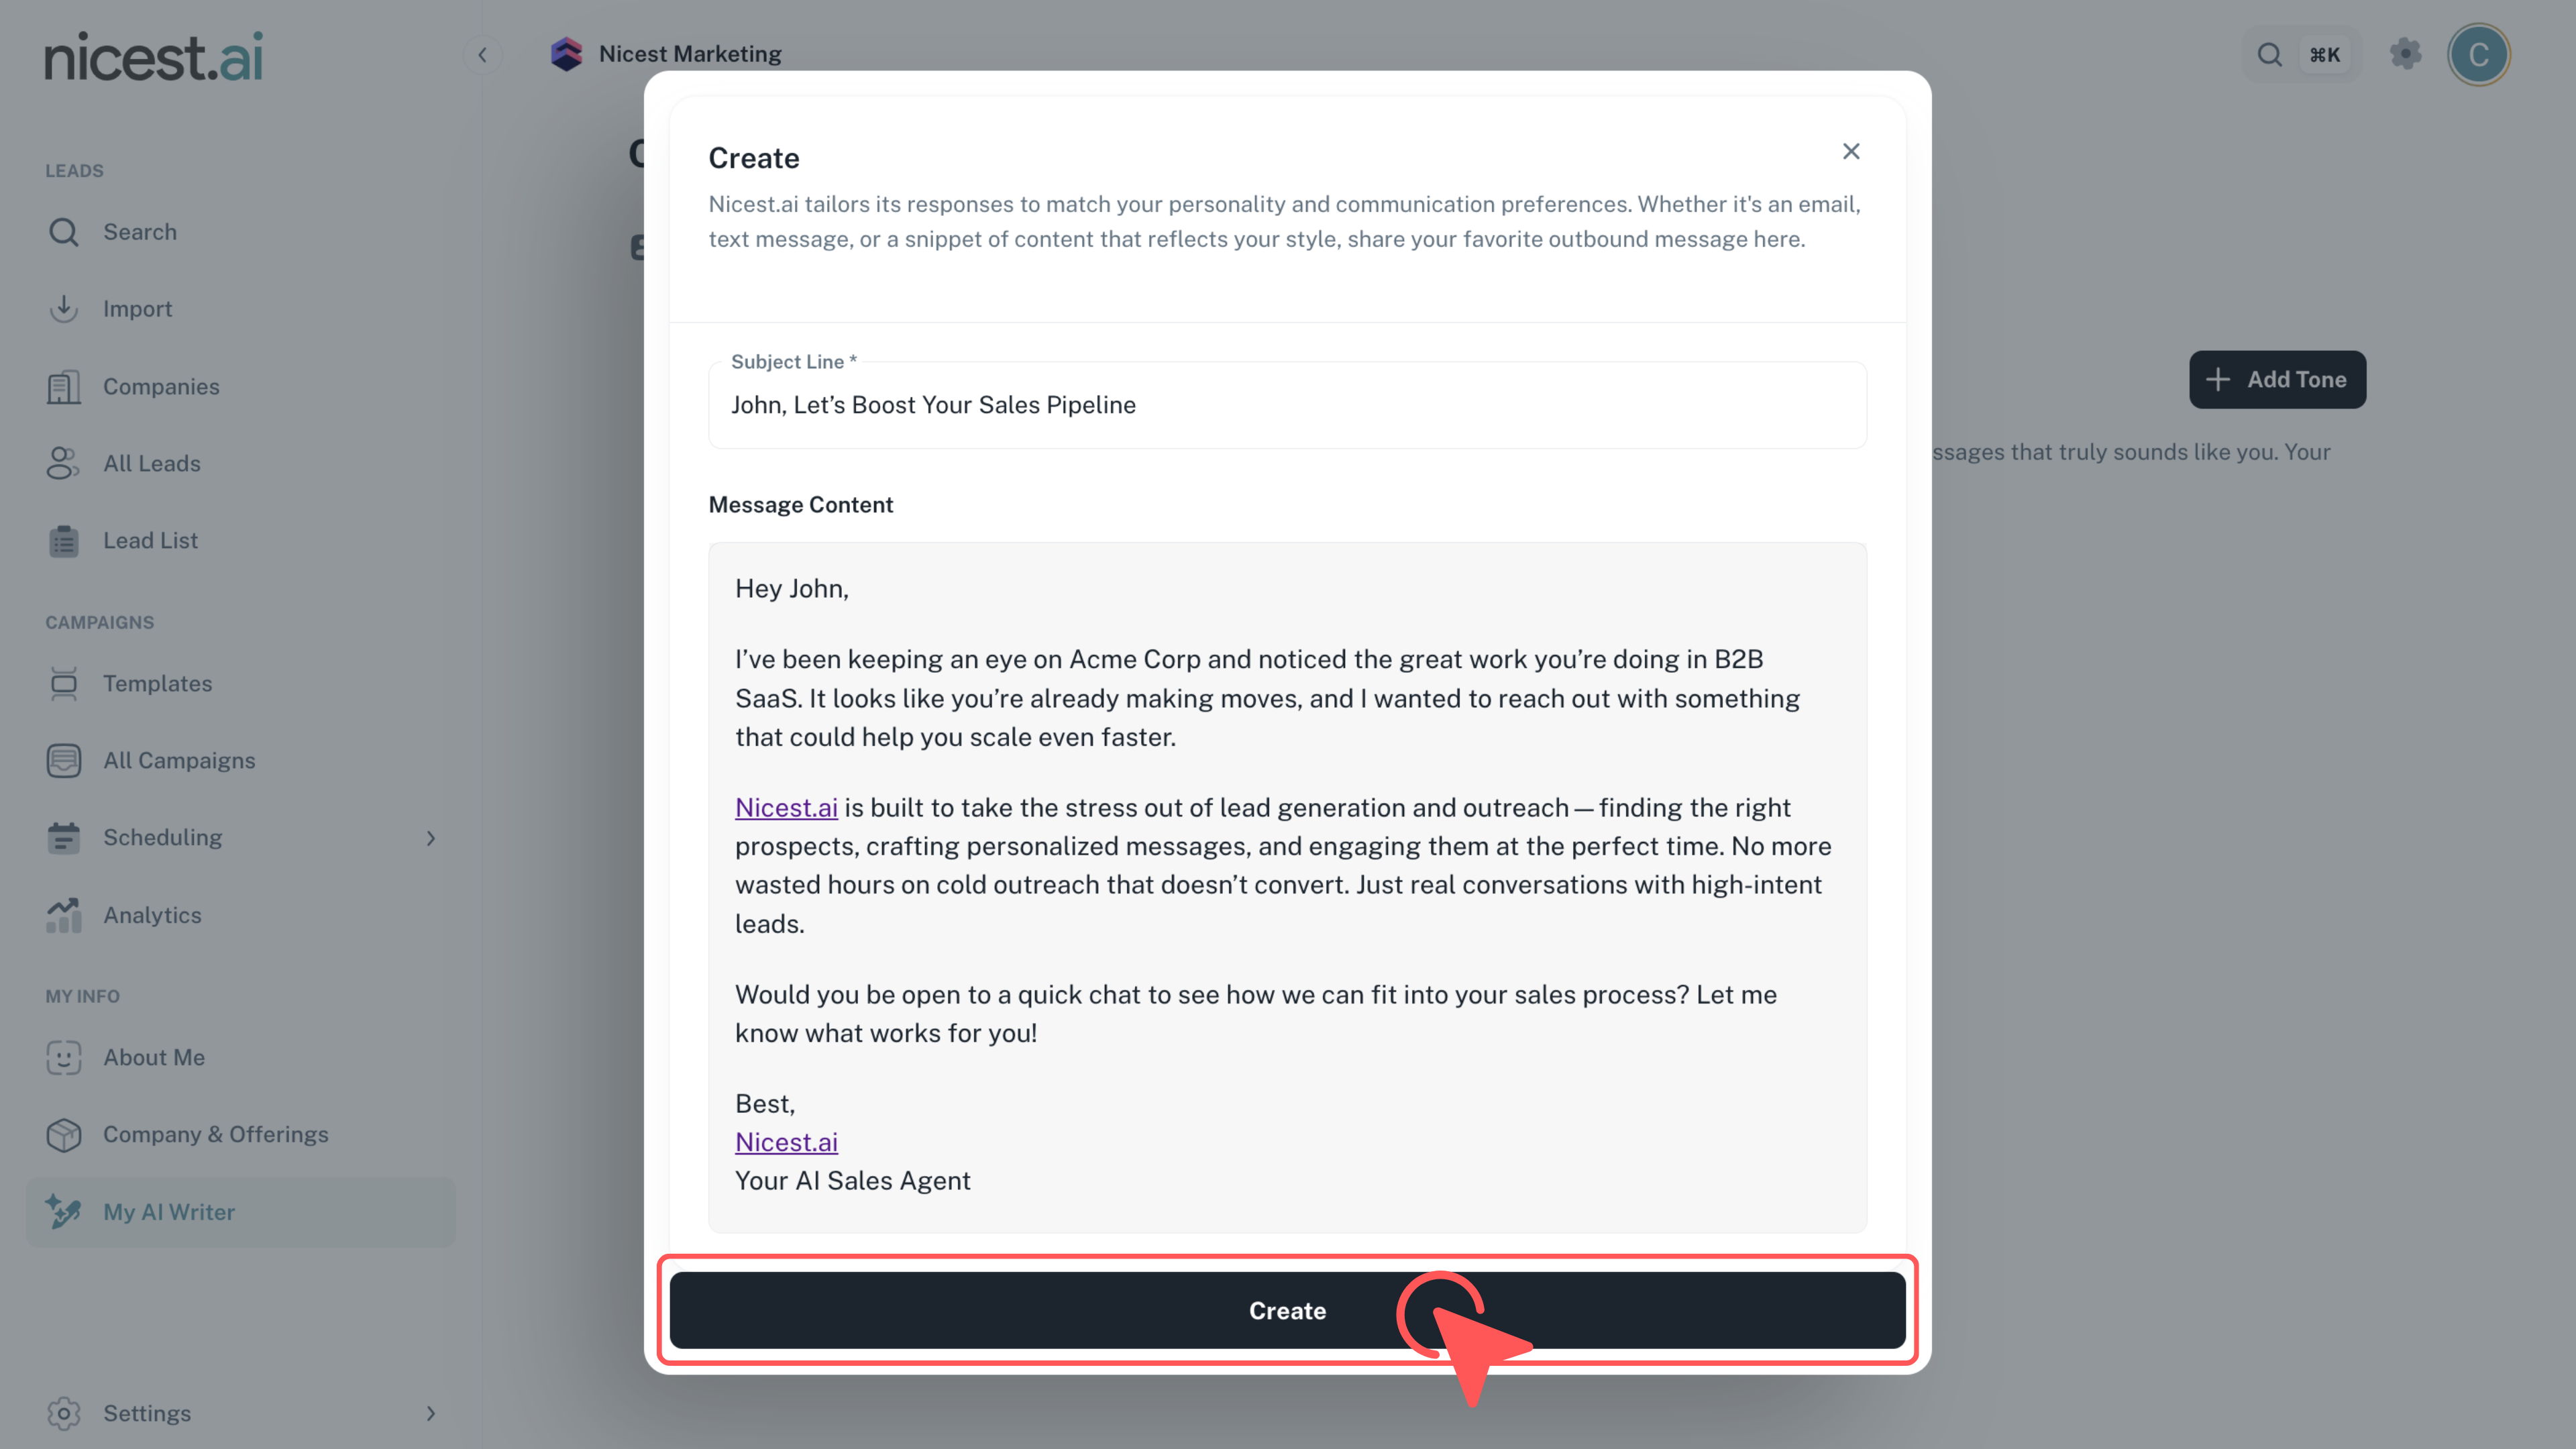
Enter the required information, including the Subject line and Message content, then click 'Create' to save your tone.
- Ensure that the subject line and message content reflect your desired voice.
- Accurate inputs help the AI generate messaging that aligns with your brand.
Important
- Both the subject line and message content fields are mandatory.
8
Set Your Preferred Message Length
Click the tab titled 'Length' at the top of the page to adjust the slider to your preferred message length.
- The slider adjustment helps tailor the length of your messages for different audiences.
- Find a balance that complements your tone and communication style.
9
Adjust Message Length
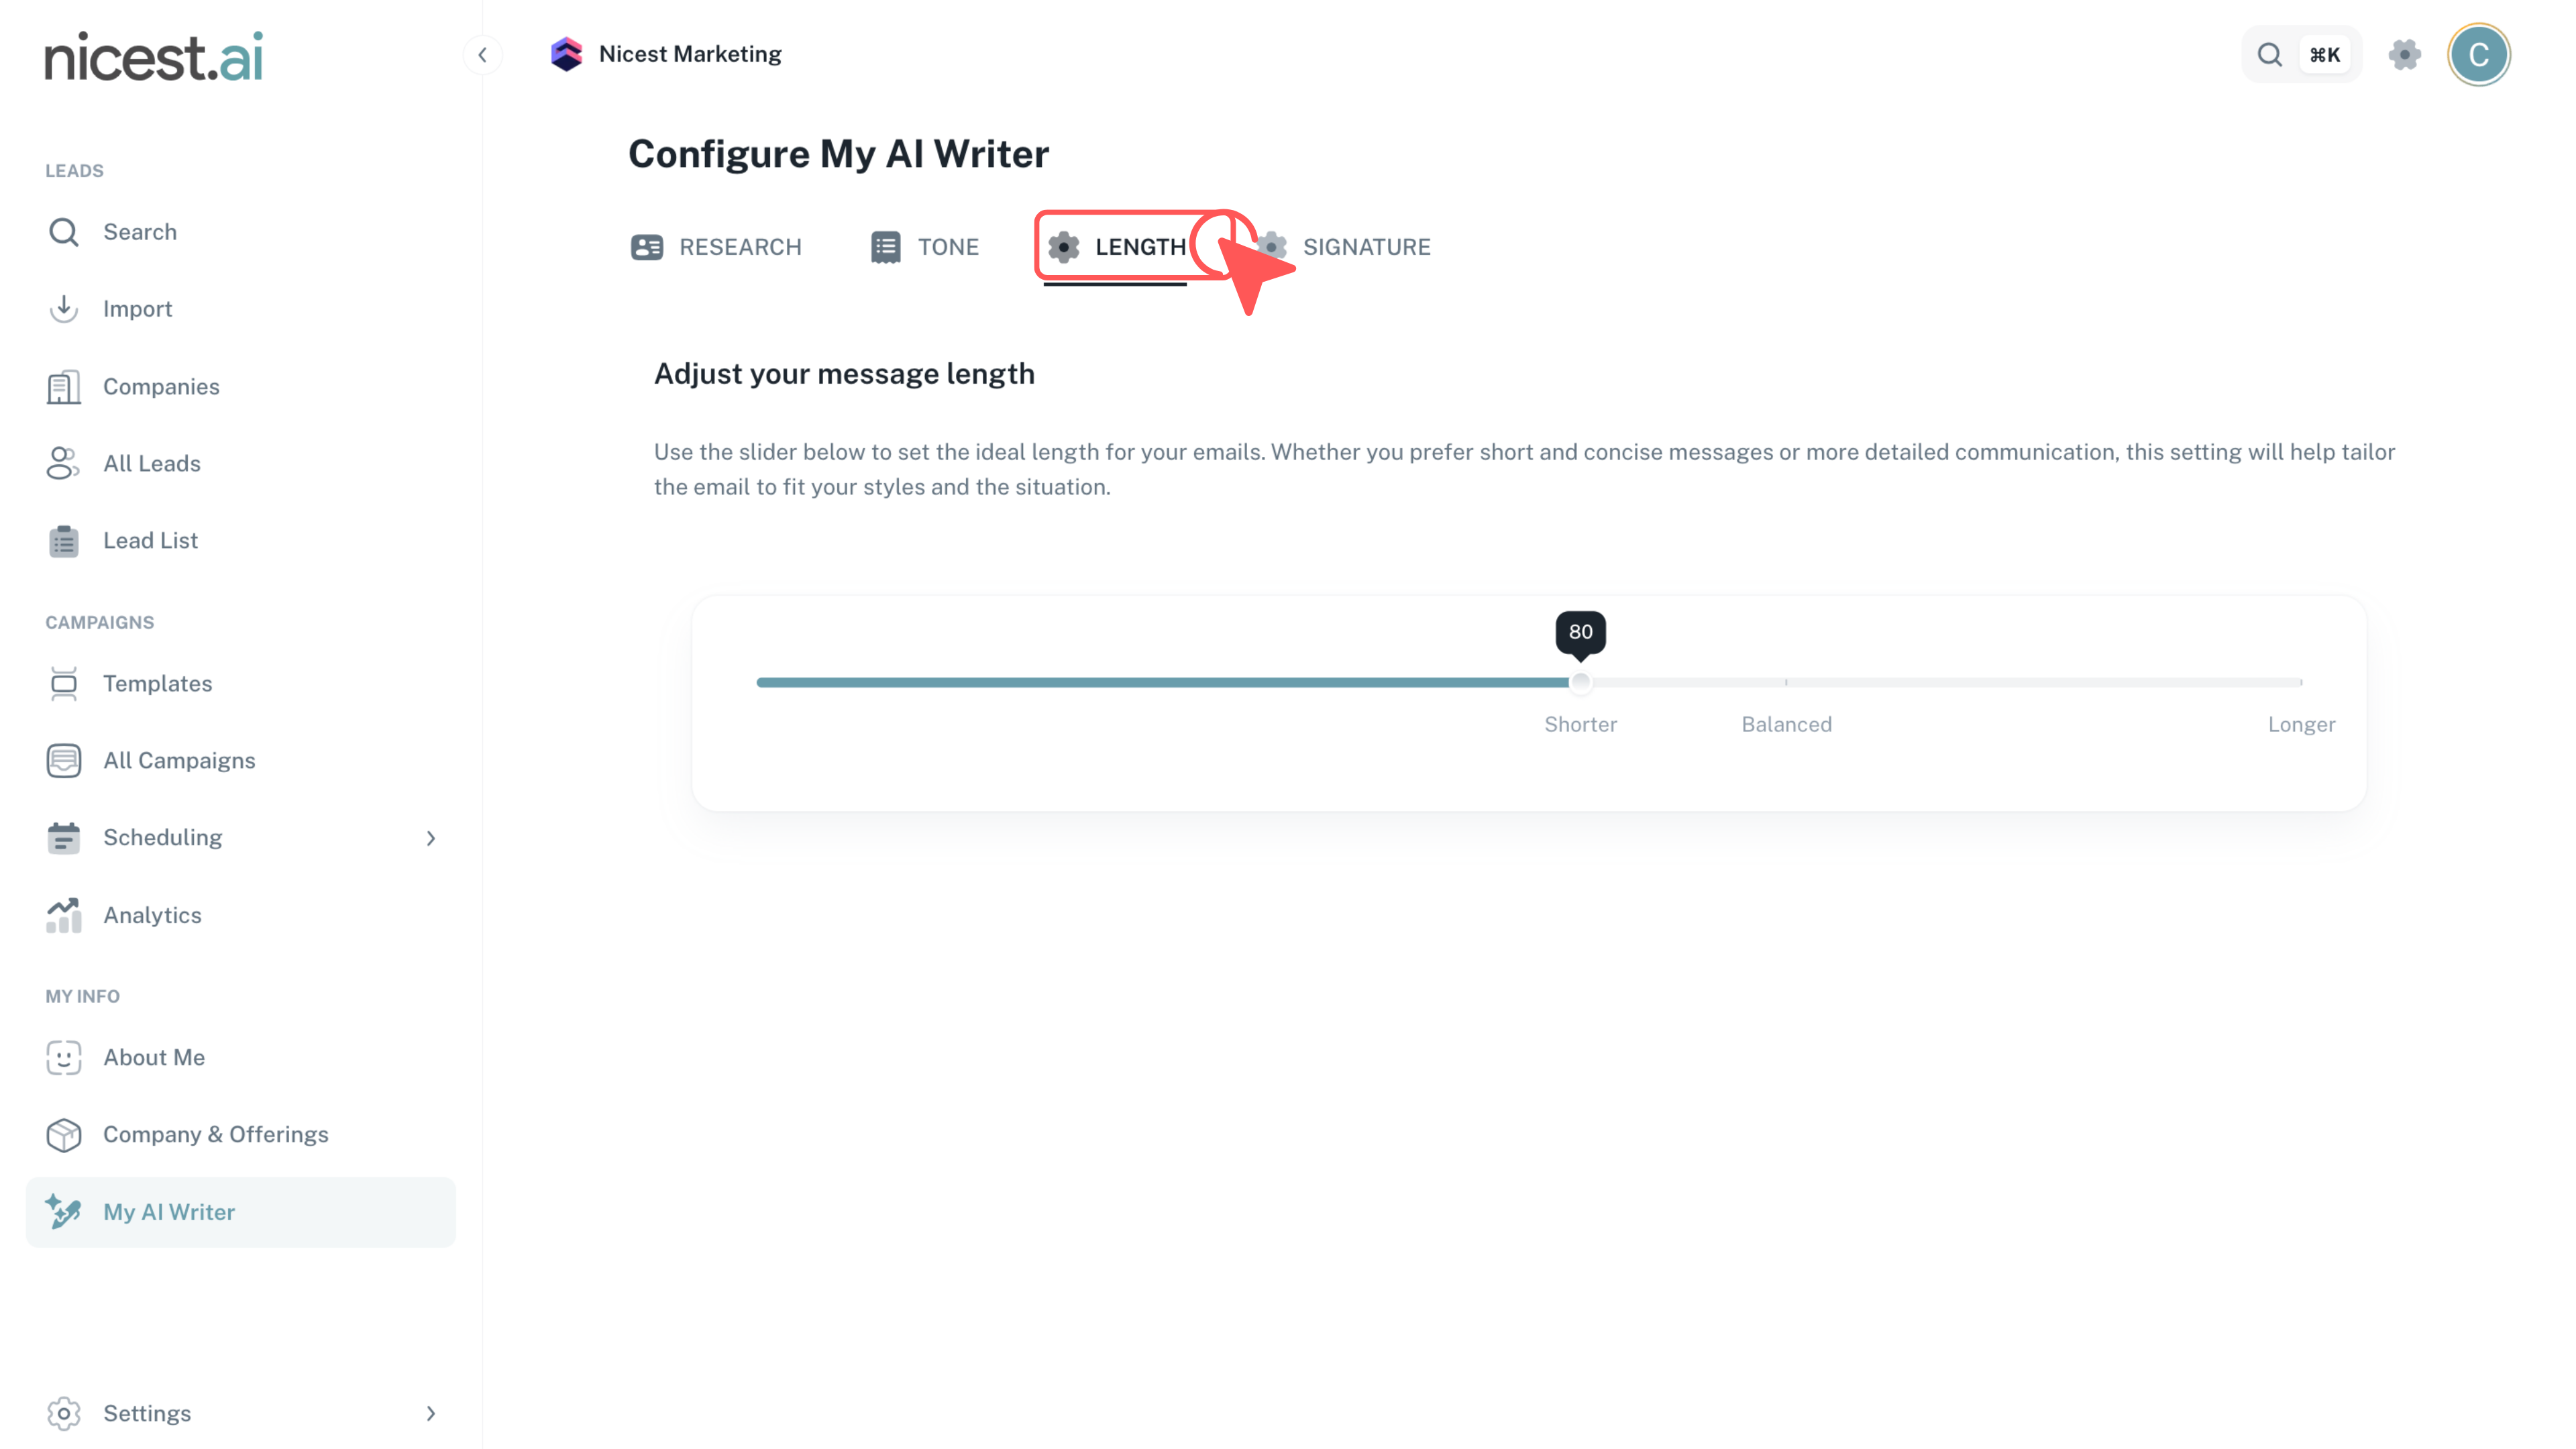
Use the slider to determine the optimal length for your messages, ensuring they are concise yet informative.
- Experiment with different lengths to find what works best for your audience.
10
Set Up Your Email Signature
Click the tab titled 'Signature' at the top of the page to configure your email signature.
- Your signature will be appended to every email, adding a personalized touch.
- Links and fancy formatting are supported to match your brand.
11
Enter Your Signature Details
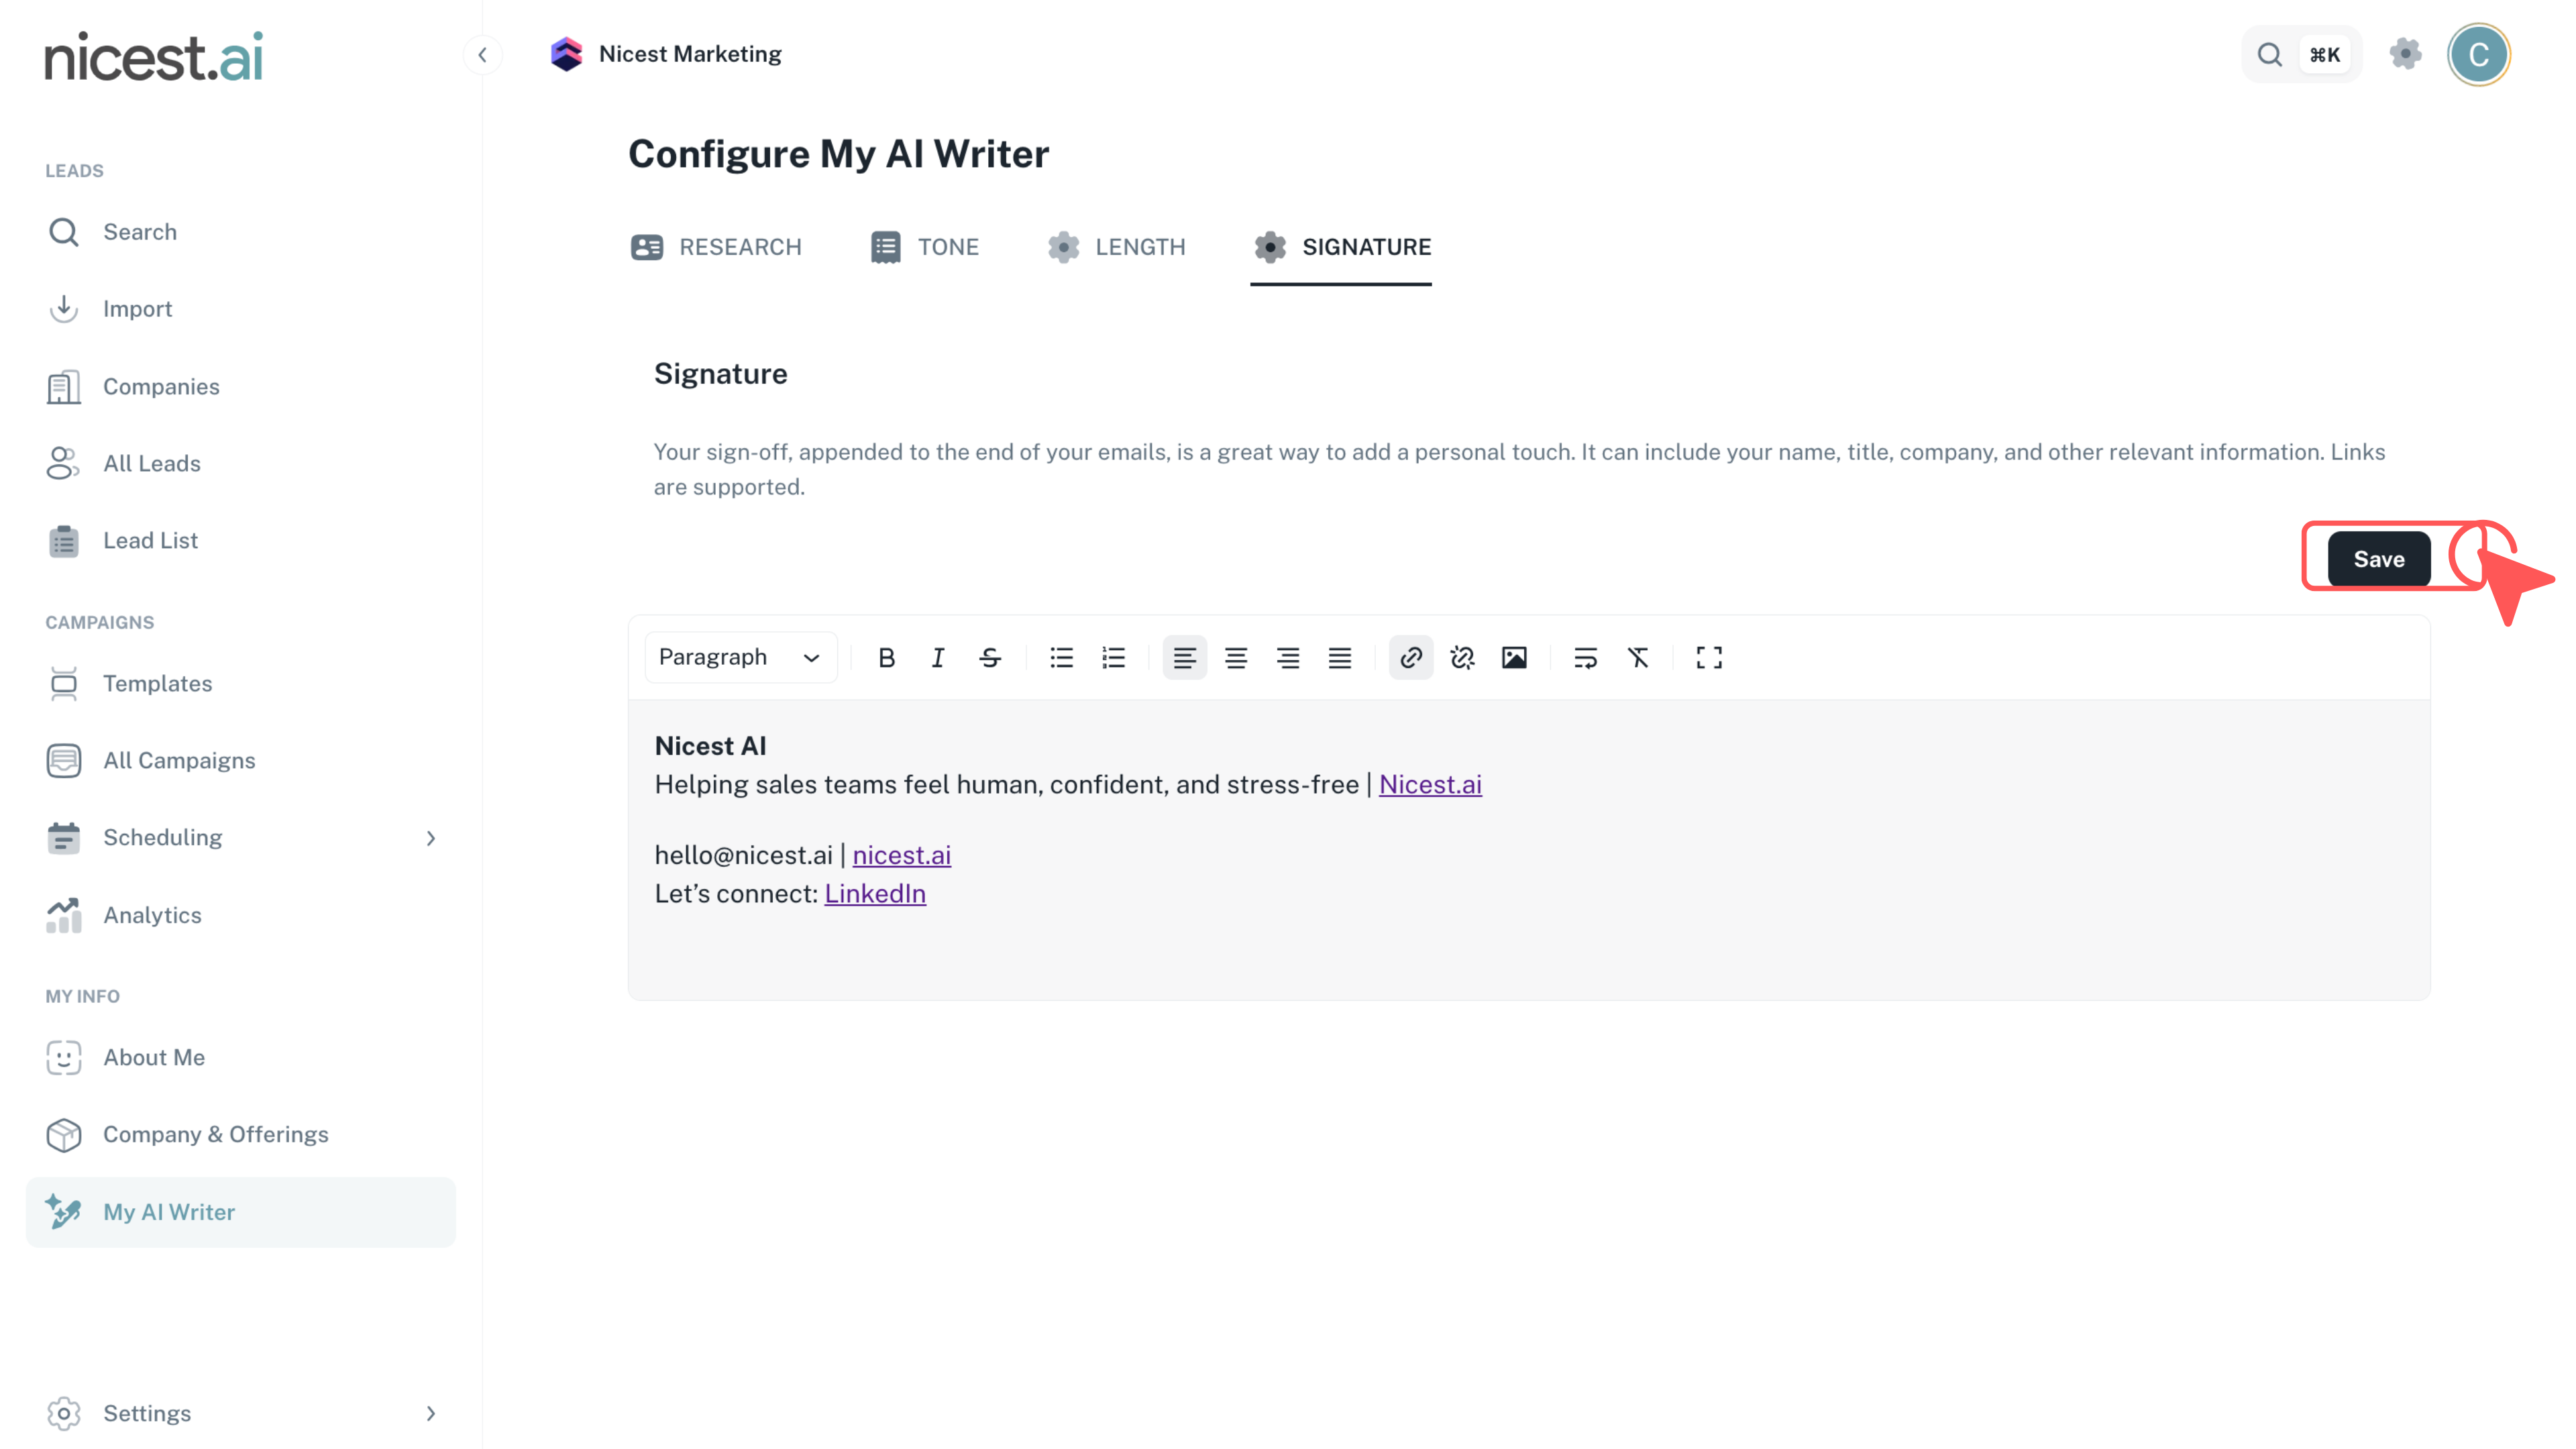
Fill in your signature details so that your emails have a consistent and professional closing.
- Make sure your signature reflects your brand’s identity and contact information.
12
Save Your Settings
Click the 'Save' button to store your signature and complete the setup of your writing style preferences.
- Saving ensures that your preferences are applied to all future messaging.
- Review your settings to ensure accuracy.
Tip
- Regularly update your preferences as your brand's voice evolves.