Organizing Your Nicest.ai Lead Lists for Strategic Outreach
Nicest.ai generates high-quality lead lists tailored to your business needs, but manually organizing them allows you to prioritize, segment, and strategize your outreach for maximum impact. By refining your lists, you can align prospects with the right messaging, optimize follow-ups, and improve conversion rates—ensuring every interaction is intentional and effective.
Step-by-Step Instructions
1
Sign In and Navigate to Lead List
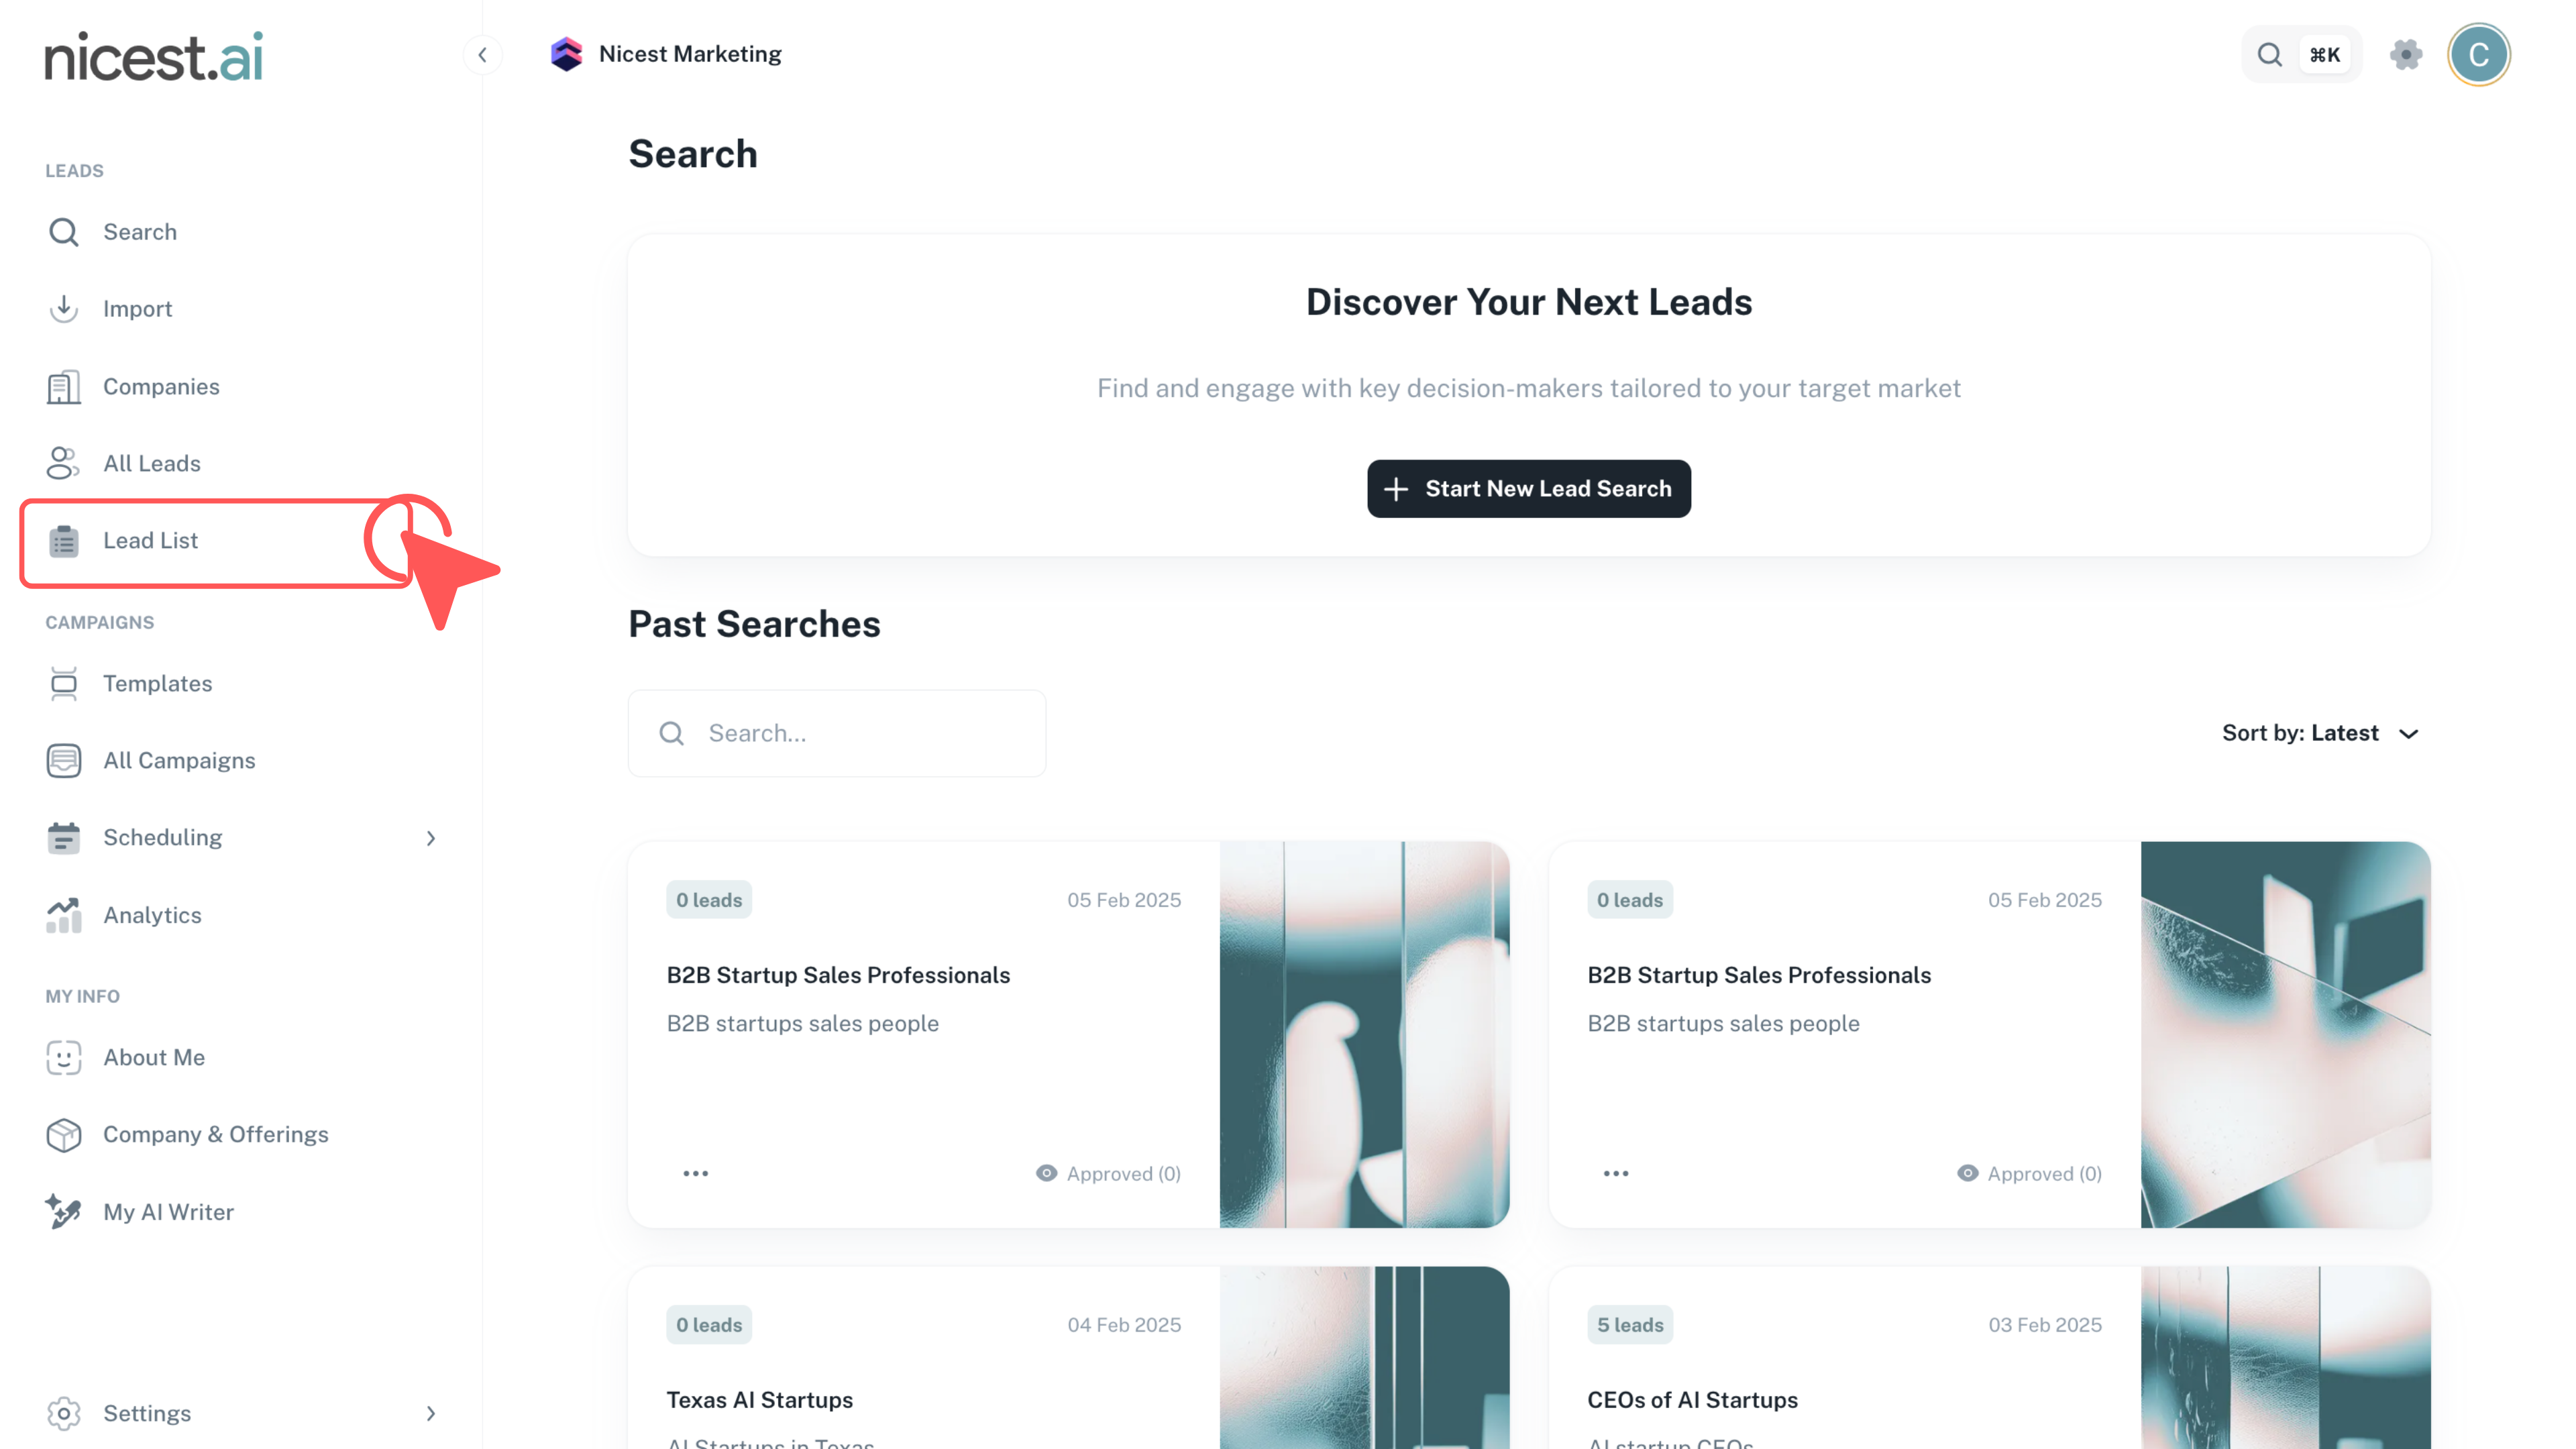
Sign into your account at app.nicest.ai and click the left tab titled 'Lead List' to begin organizing your leads.
- Ensure you are using the correct login credentials.
- Locate the 'Lead List' tab on the left-side menu for quick access.
Tip
- Bookmark the Lead List page for faster future navigation.
2
Create a New Lead List
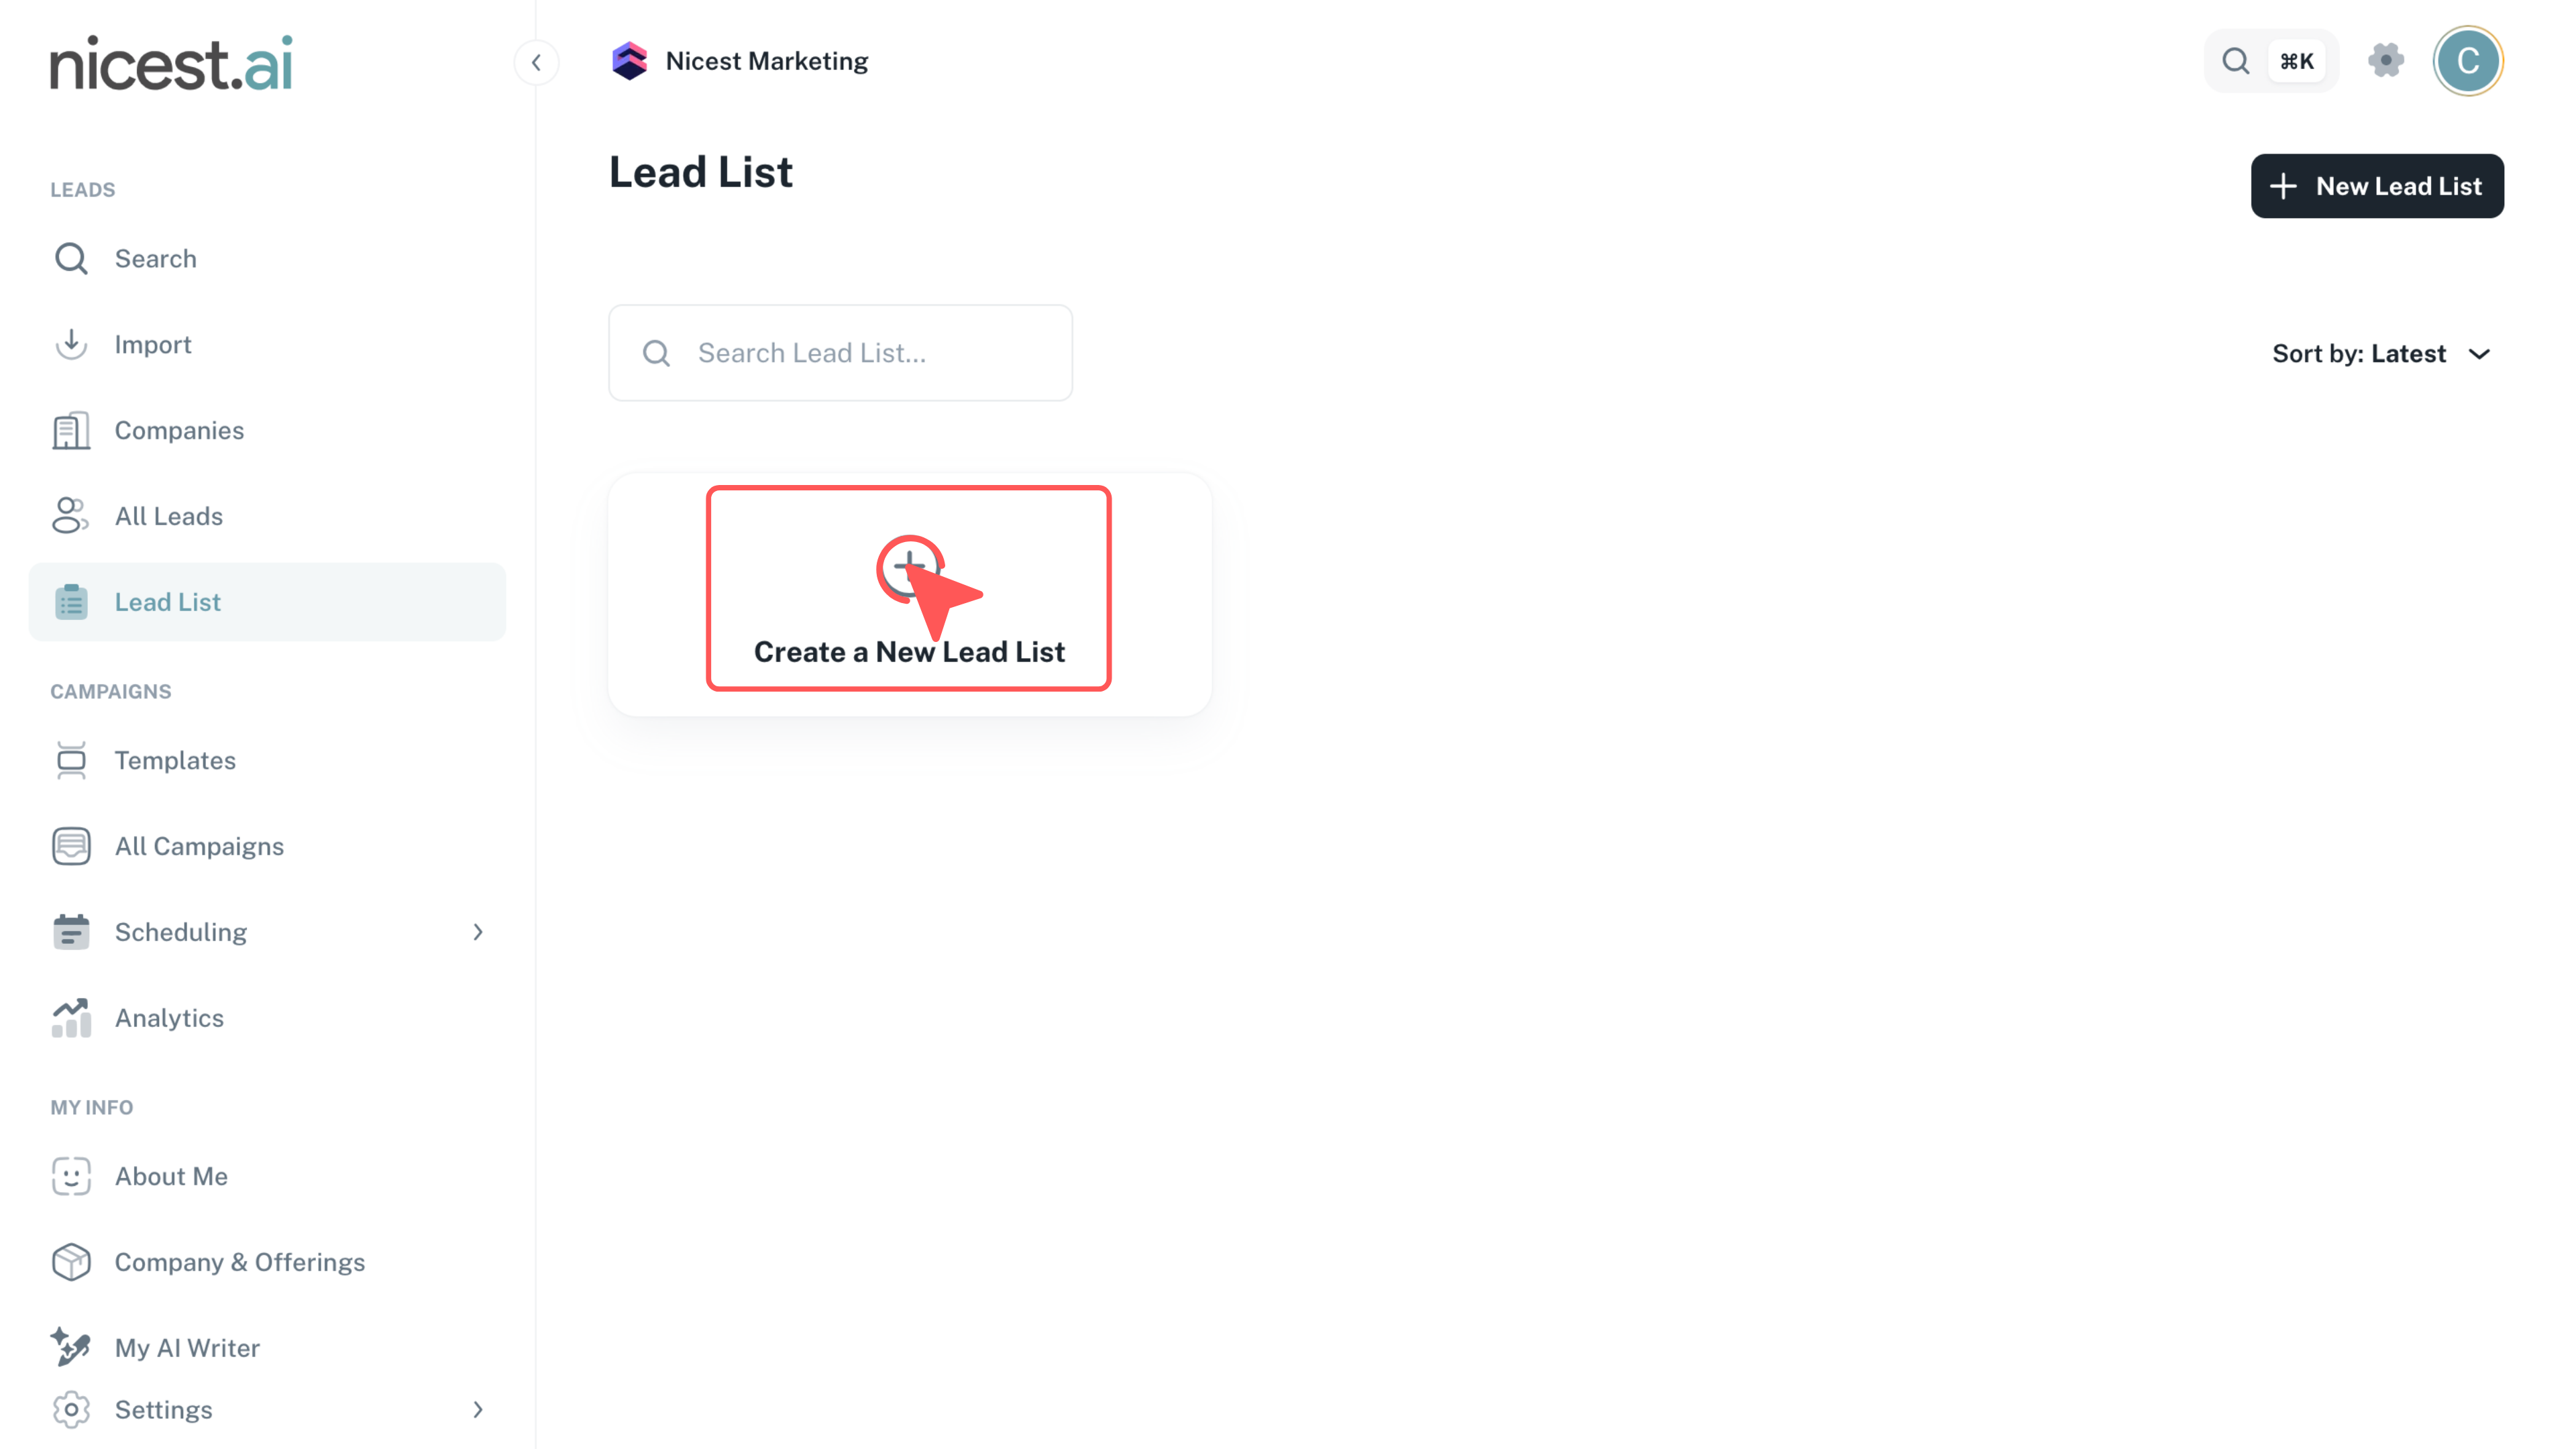
Click 'Create a New Lead List' and enter a descriptive name for your list to organize your prospect data effectively.
- Choose a list name that reflects the purpose or target segment for easy identification.
- Starting a new list clears previous selections, so ensure you save any important data beforehand.
3
Open an Existing Lead List
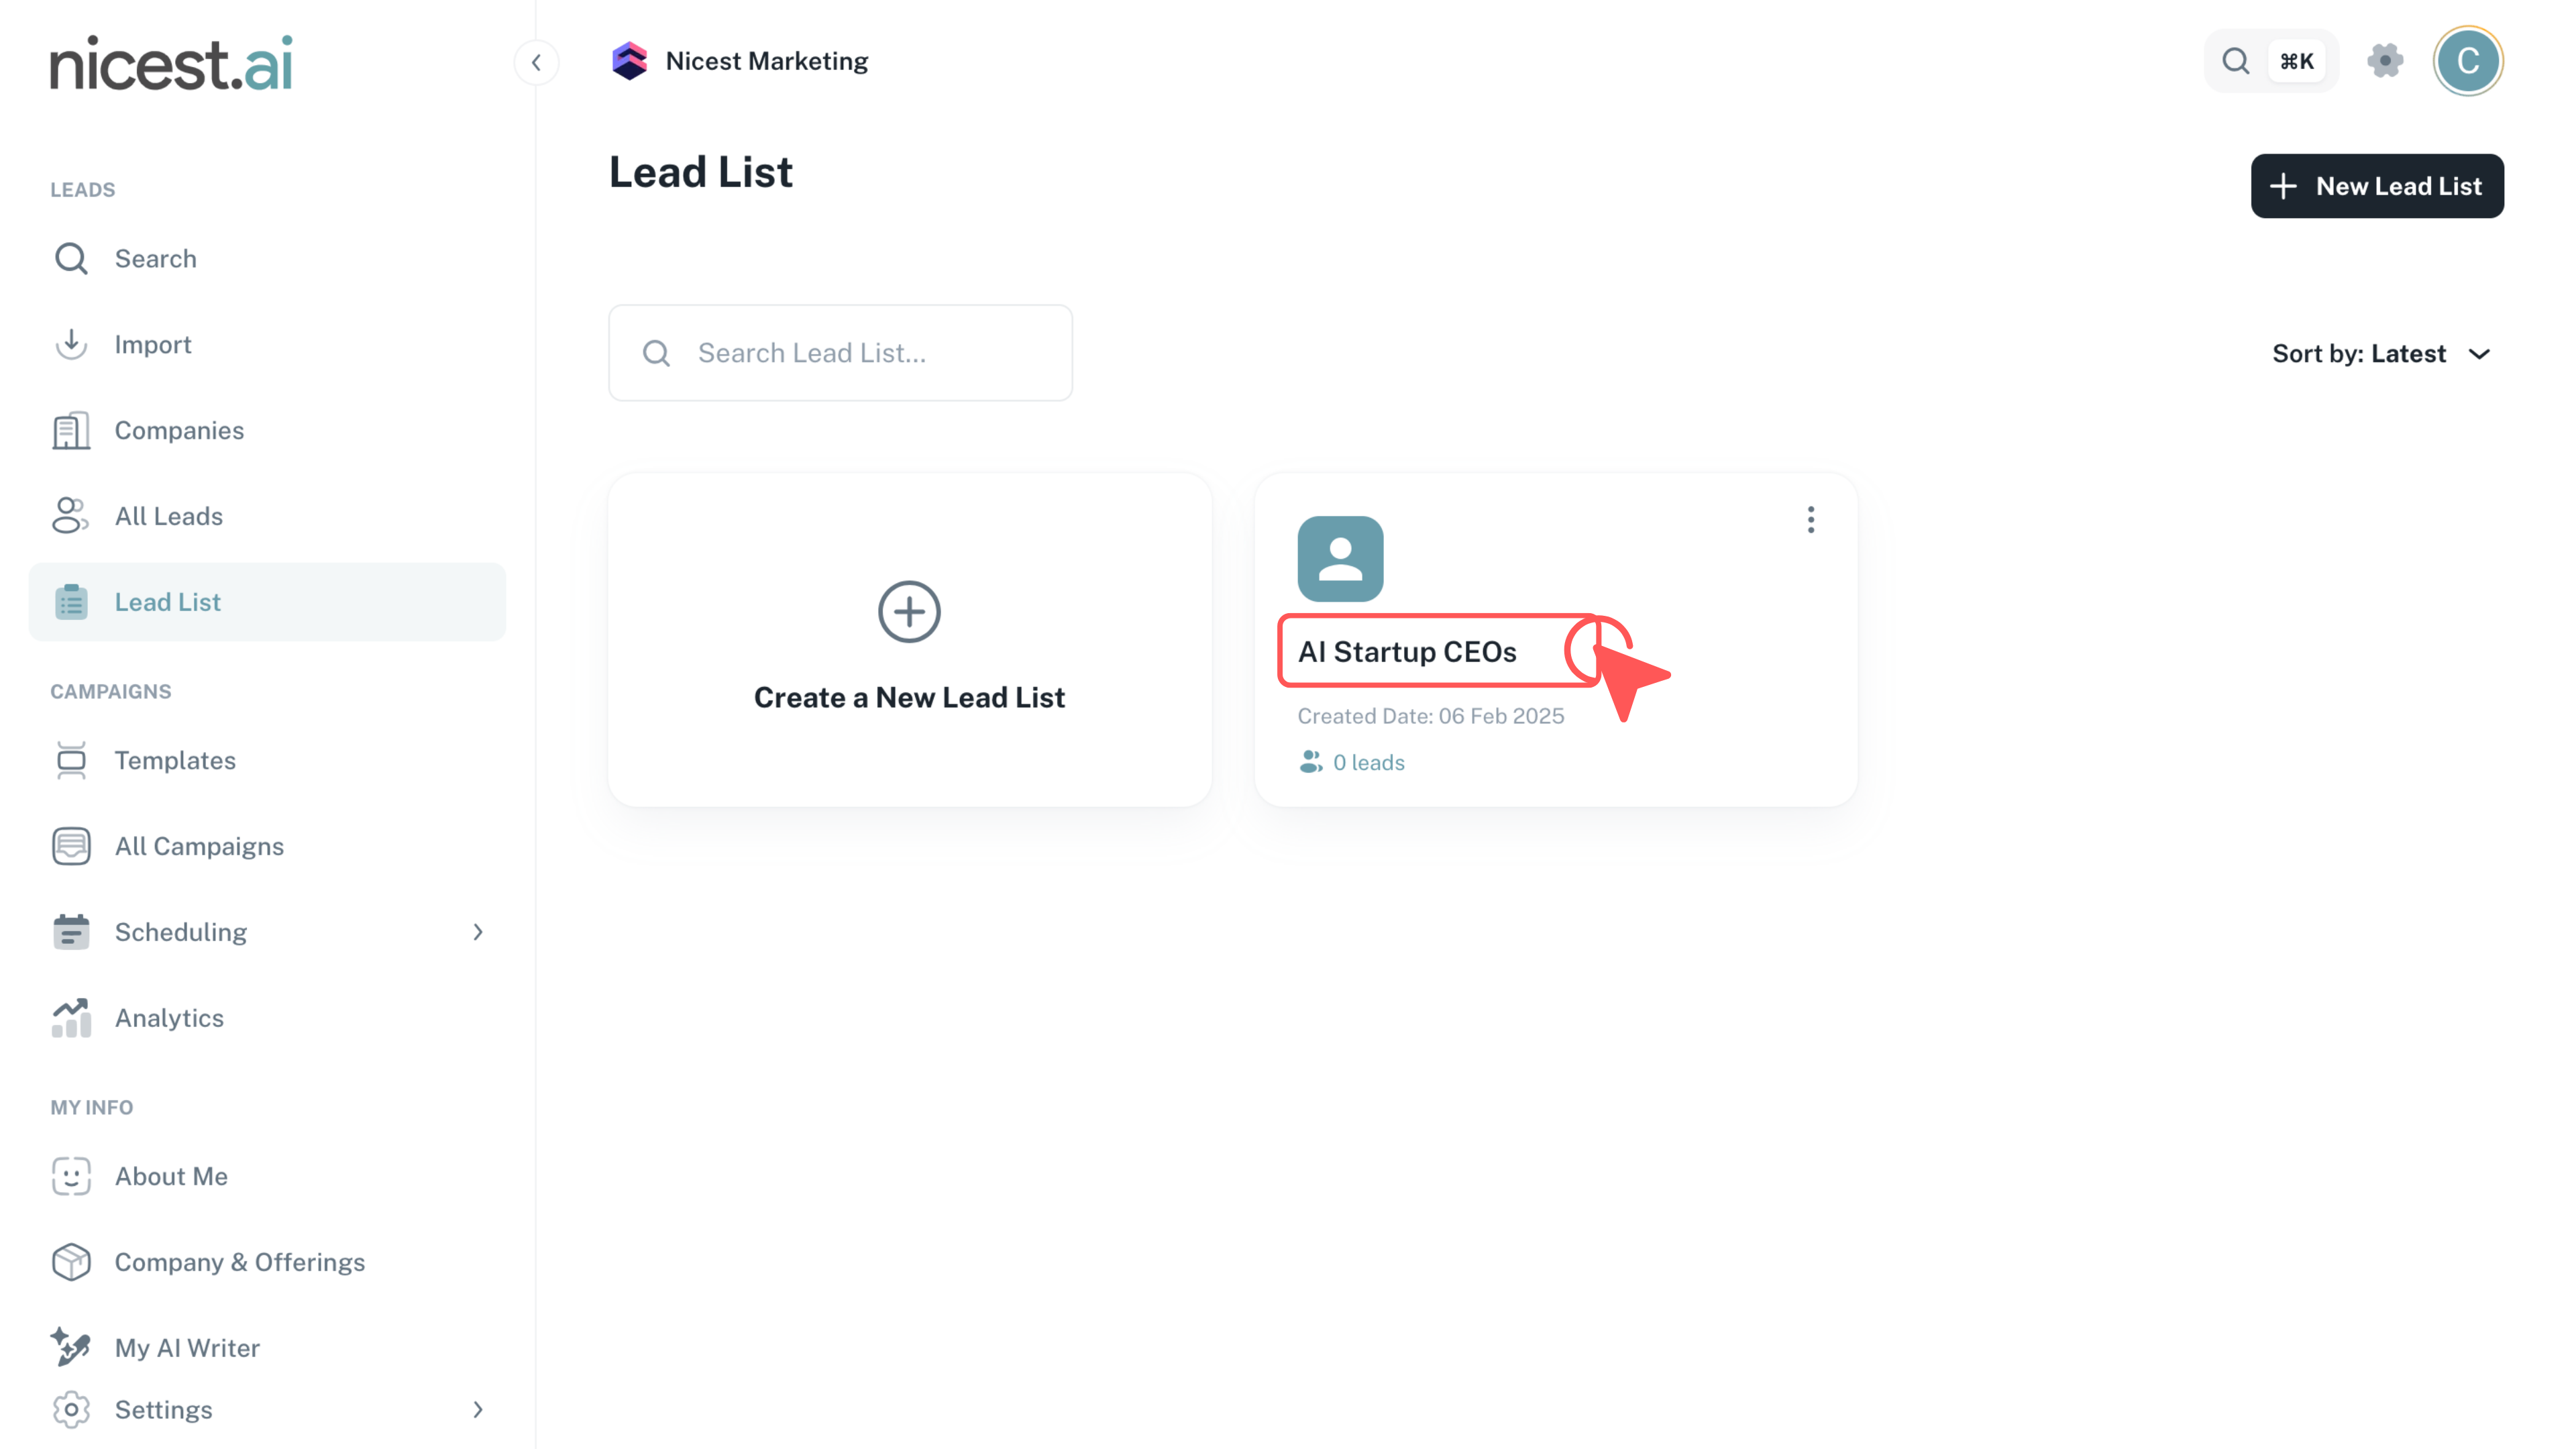
Click on an existing lead list to open it and view its contents for further organization.
- Review the current lead list to assess if it needs updates or segmentation.
- This step helps in verifying your selected leads before making any changes.
4
Add Leads
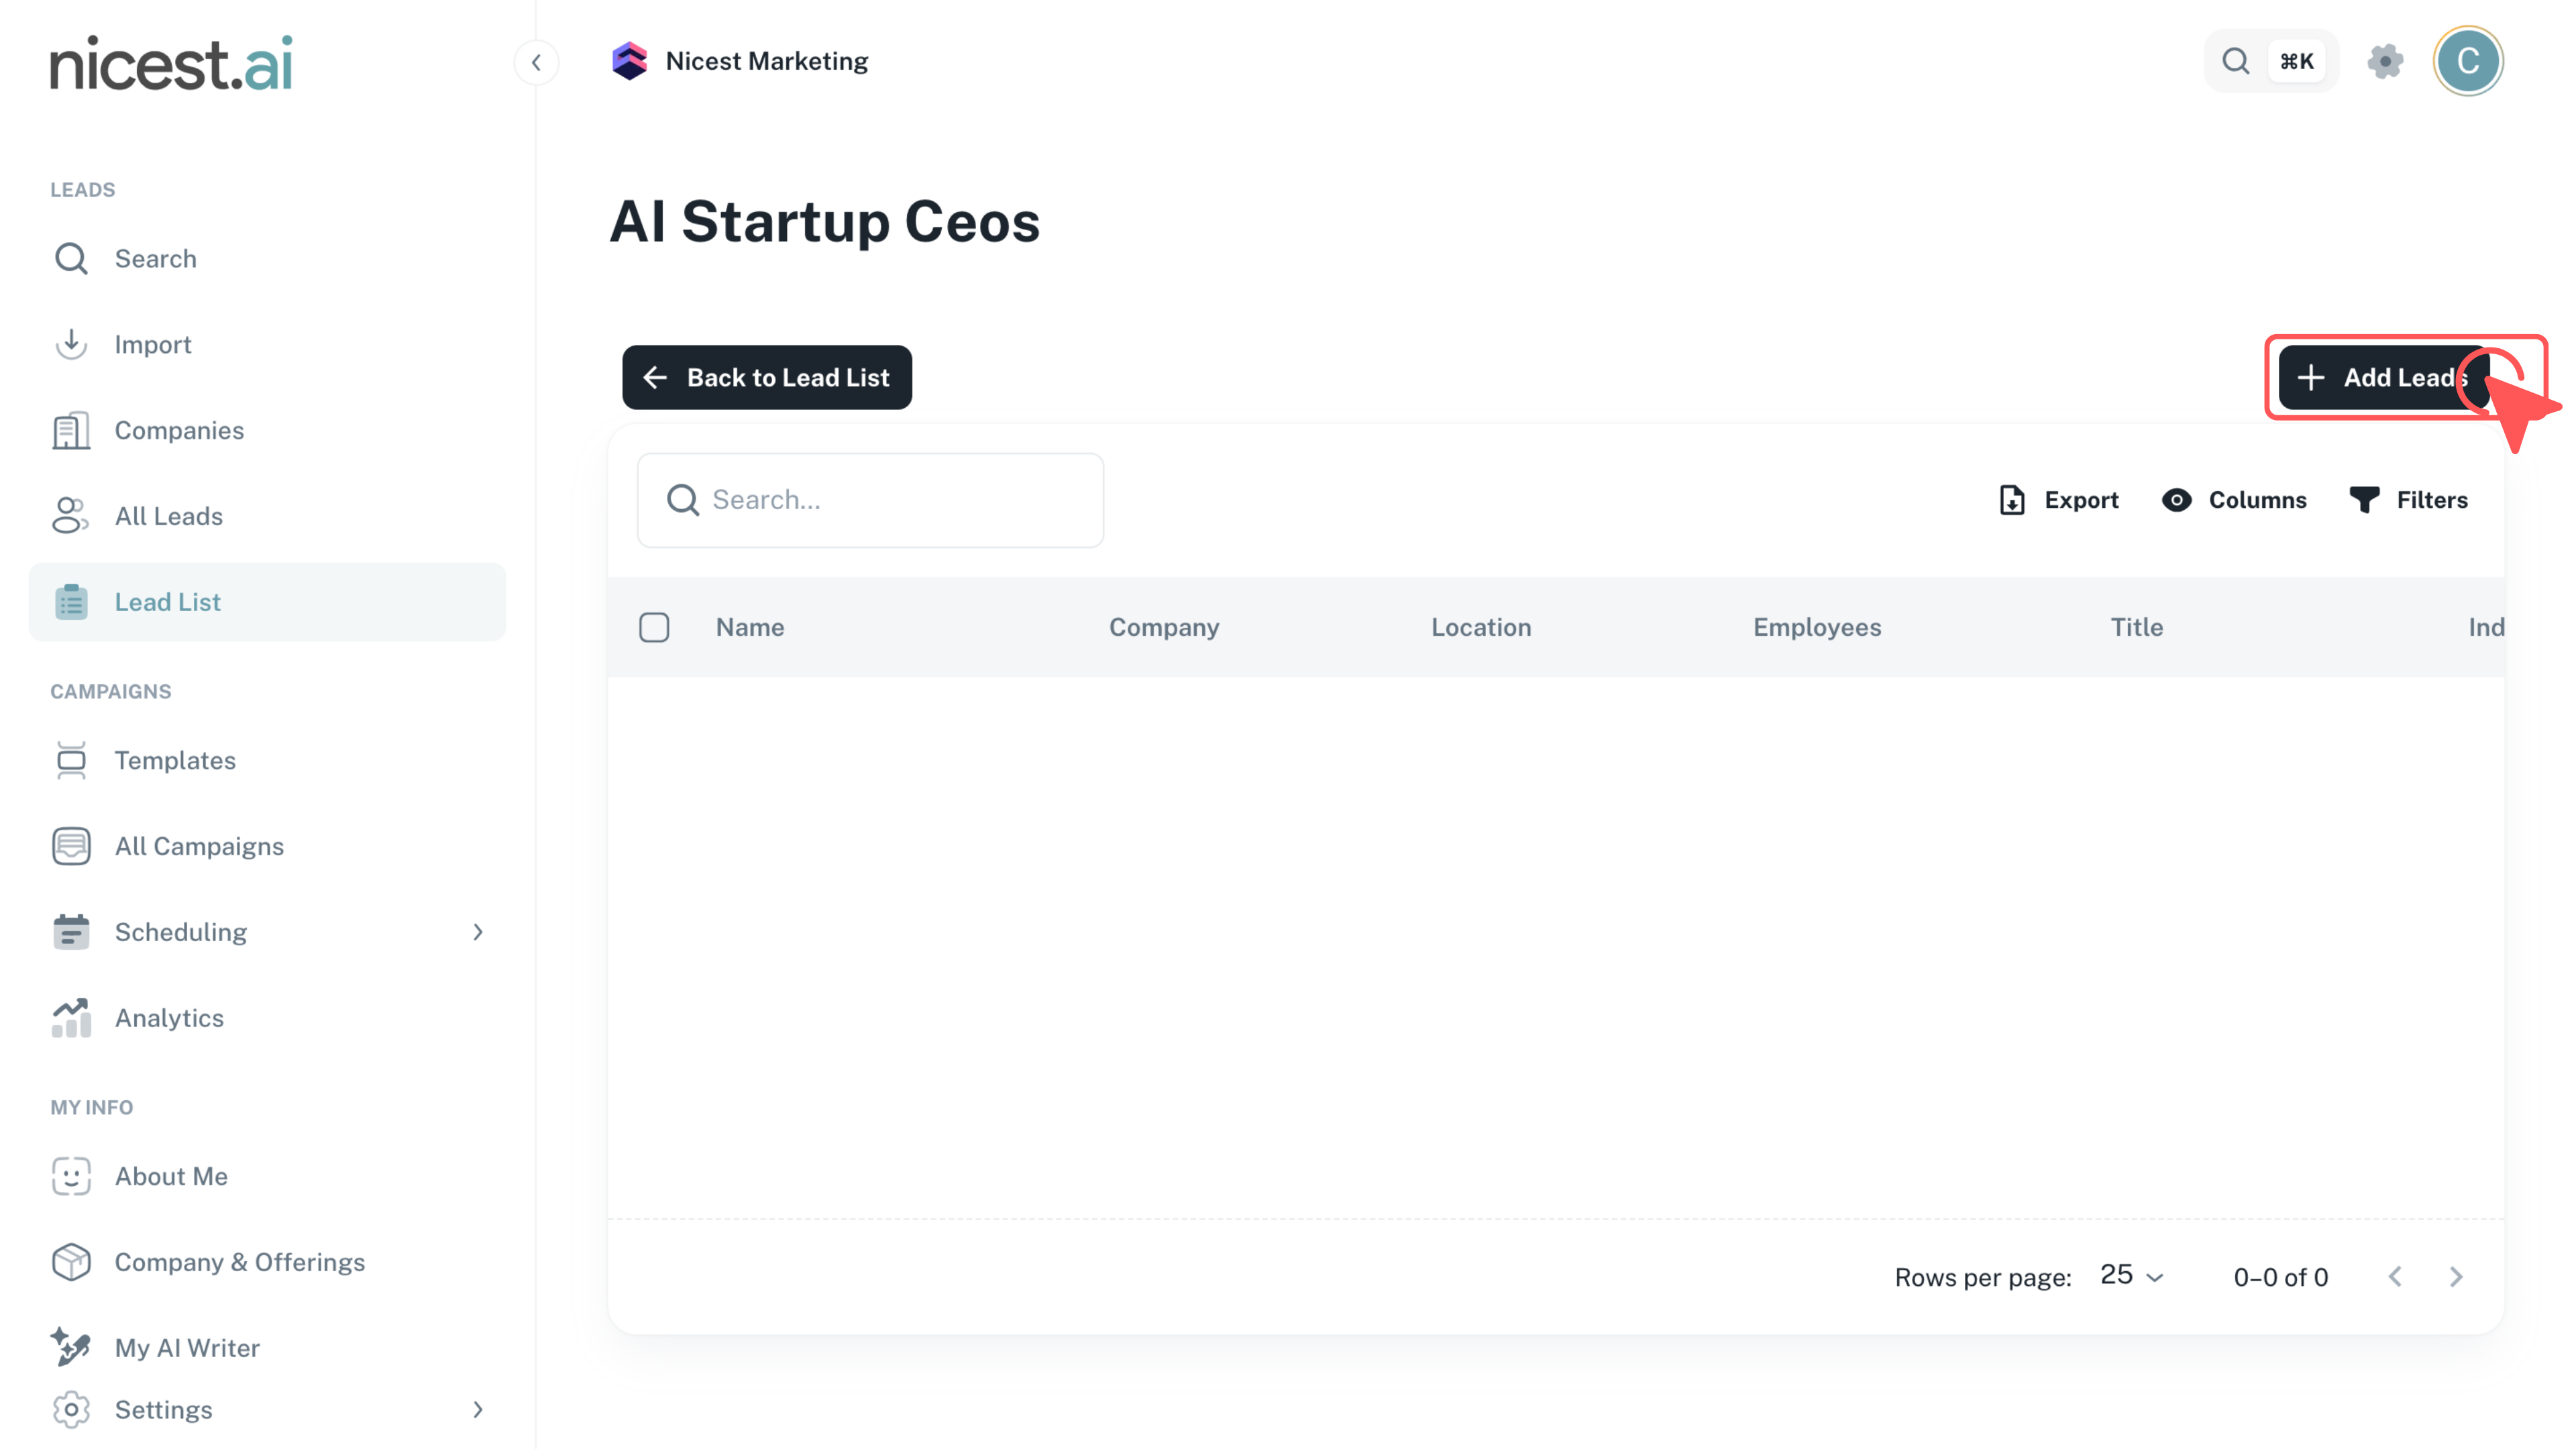
Click 'Add Leads' to start enhancing your list with new prospects.
- This will open a window where you can search and select new leads to incorporate into your list.
- Make sure you have reviewed your criteria to ensure quality additions.
5
Select Leads and Initiate Addition
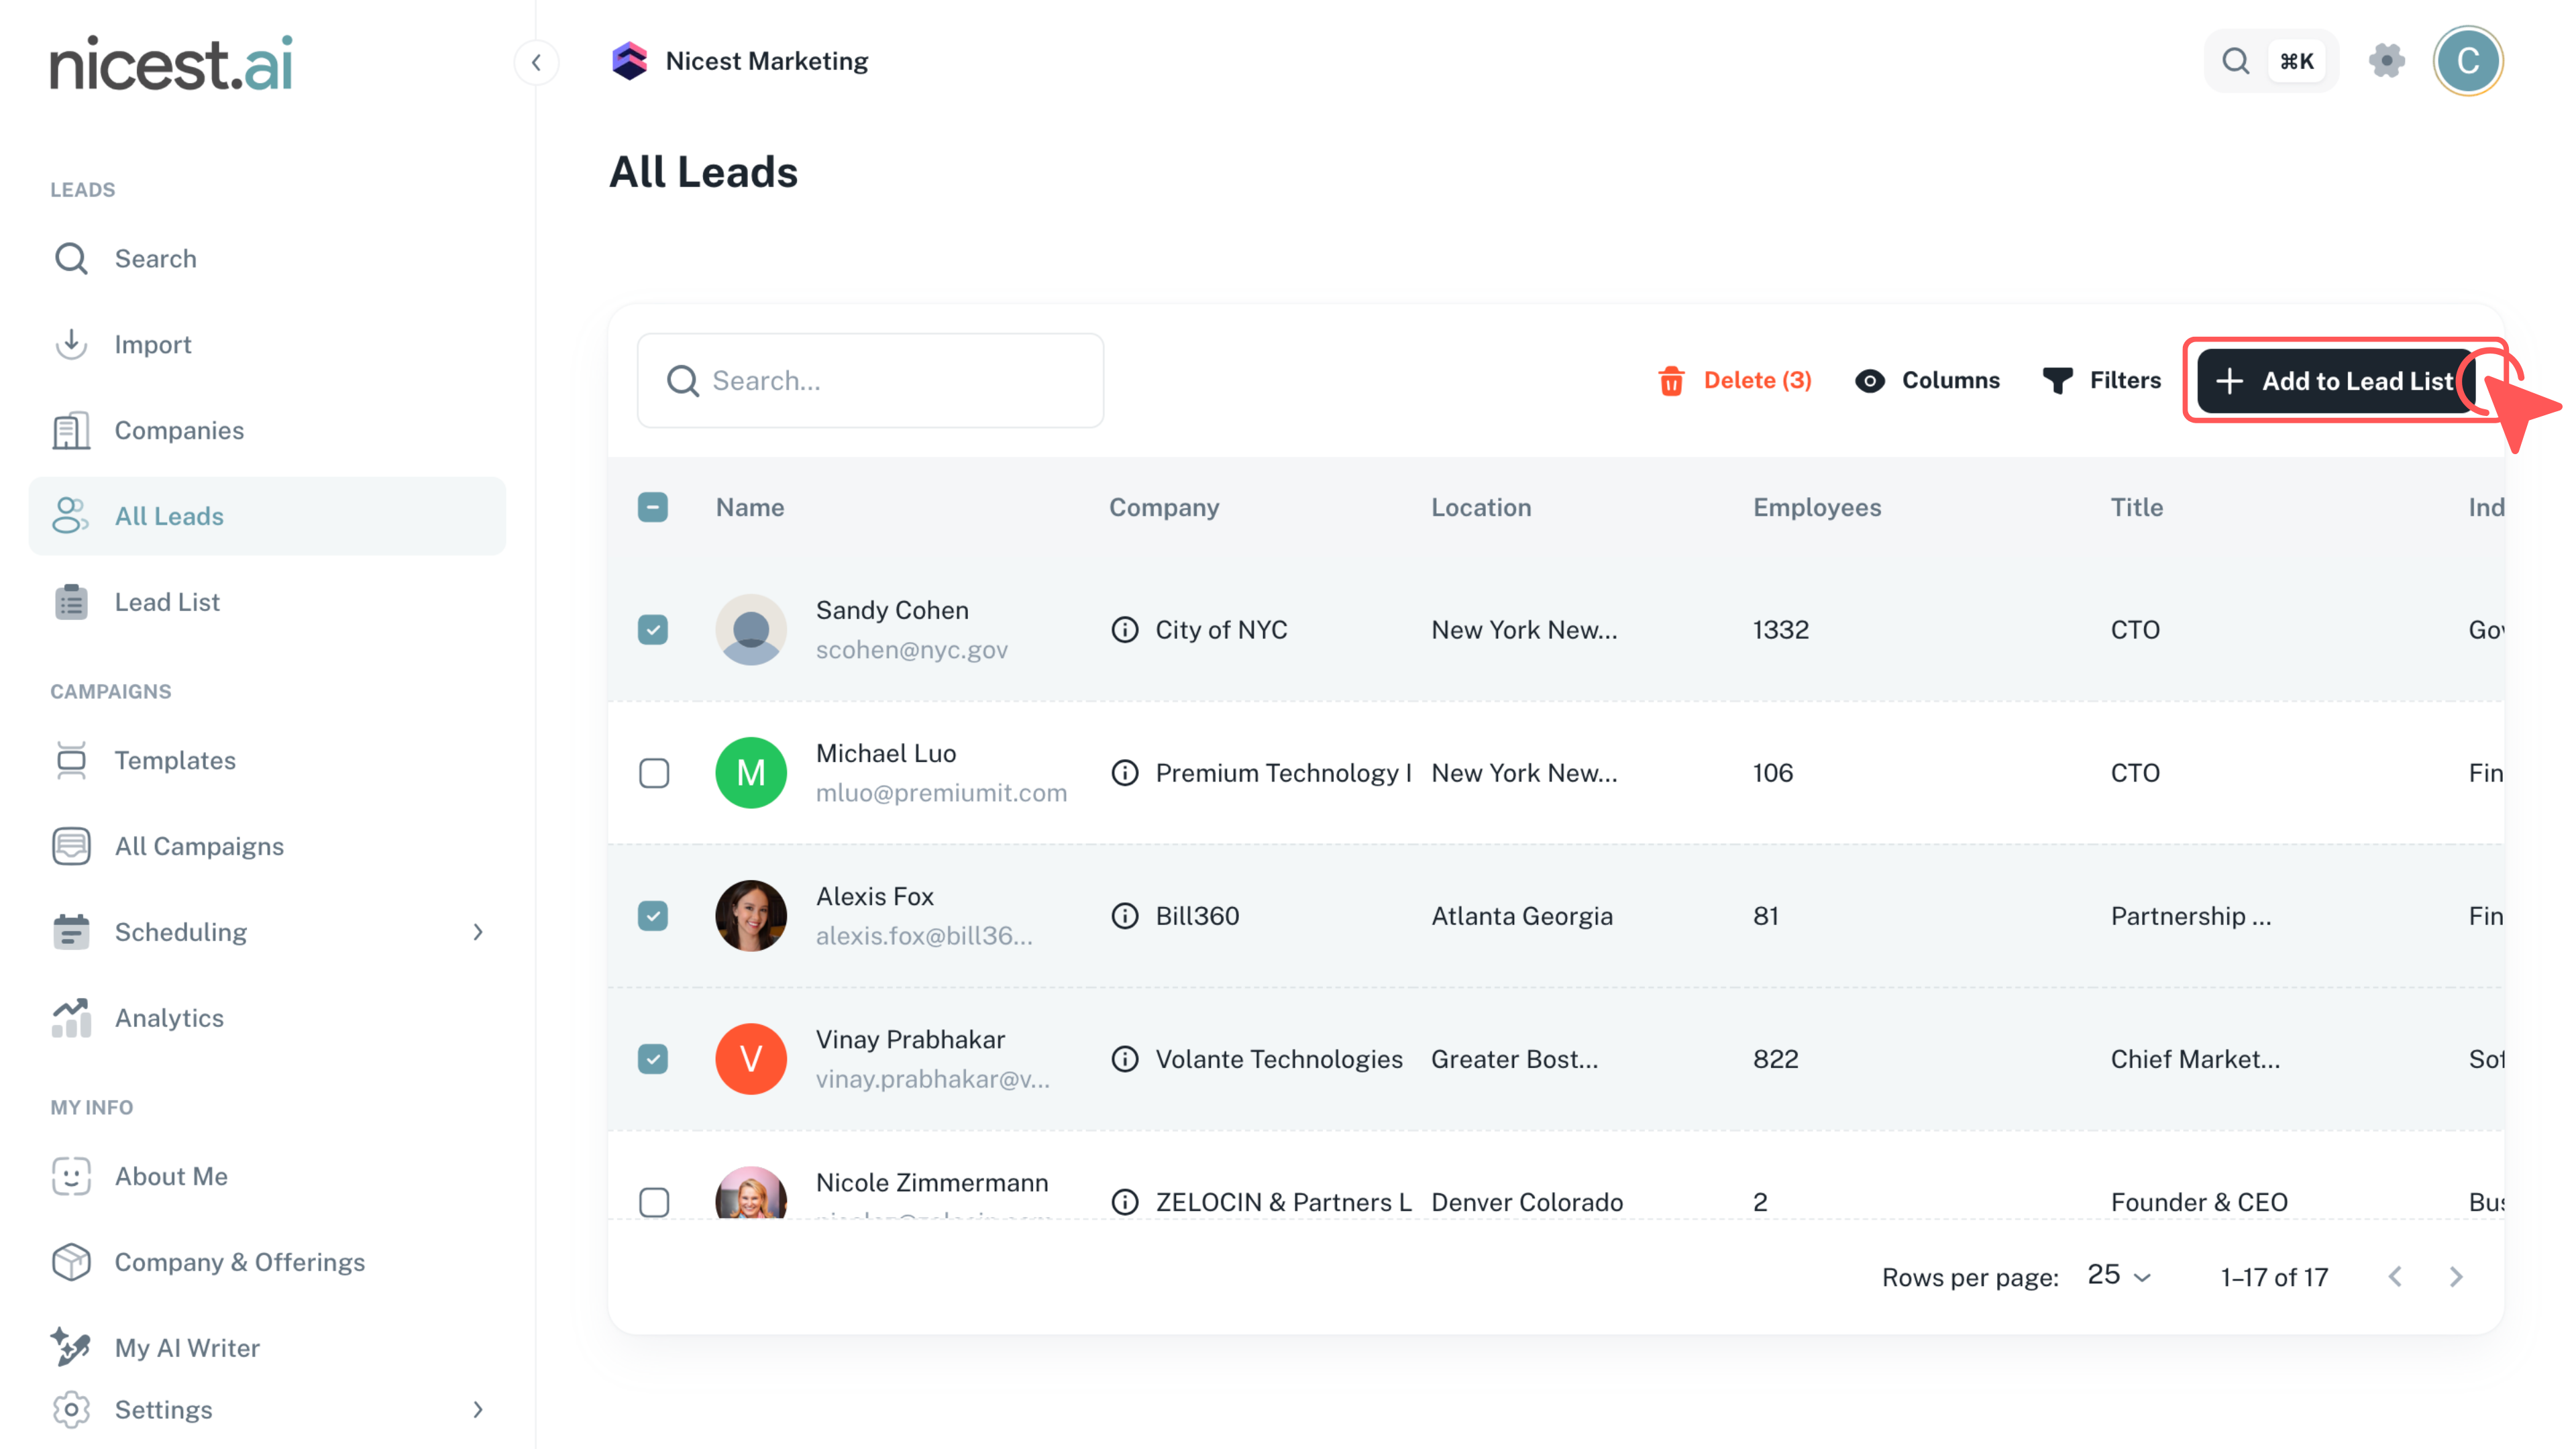
Select the relevant leads from your search results and click 'Add to Lead List' to initiate the process of organizing them.
- Carefully choose leads that align with your target criteria.
- Initiating this step will temporarily stage the leads for final confirmation.
Tip
- Confirm your selection to avoid adding unwanted leads.
6
Finalize Your Lead List
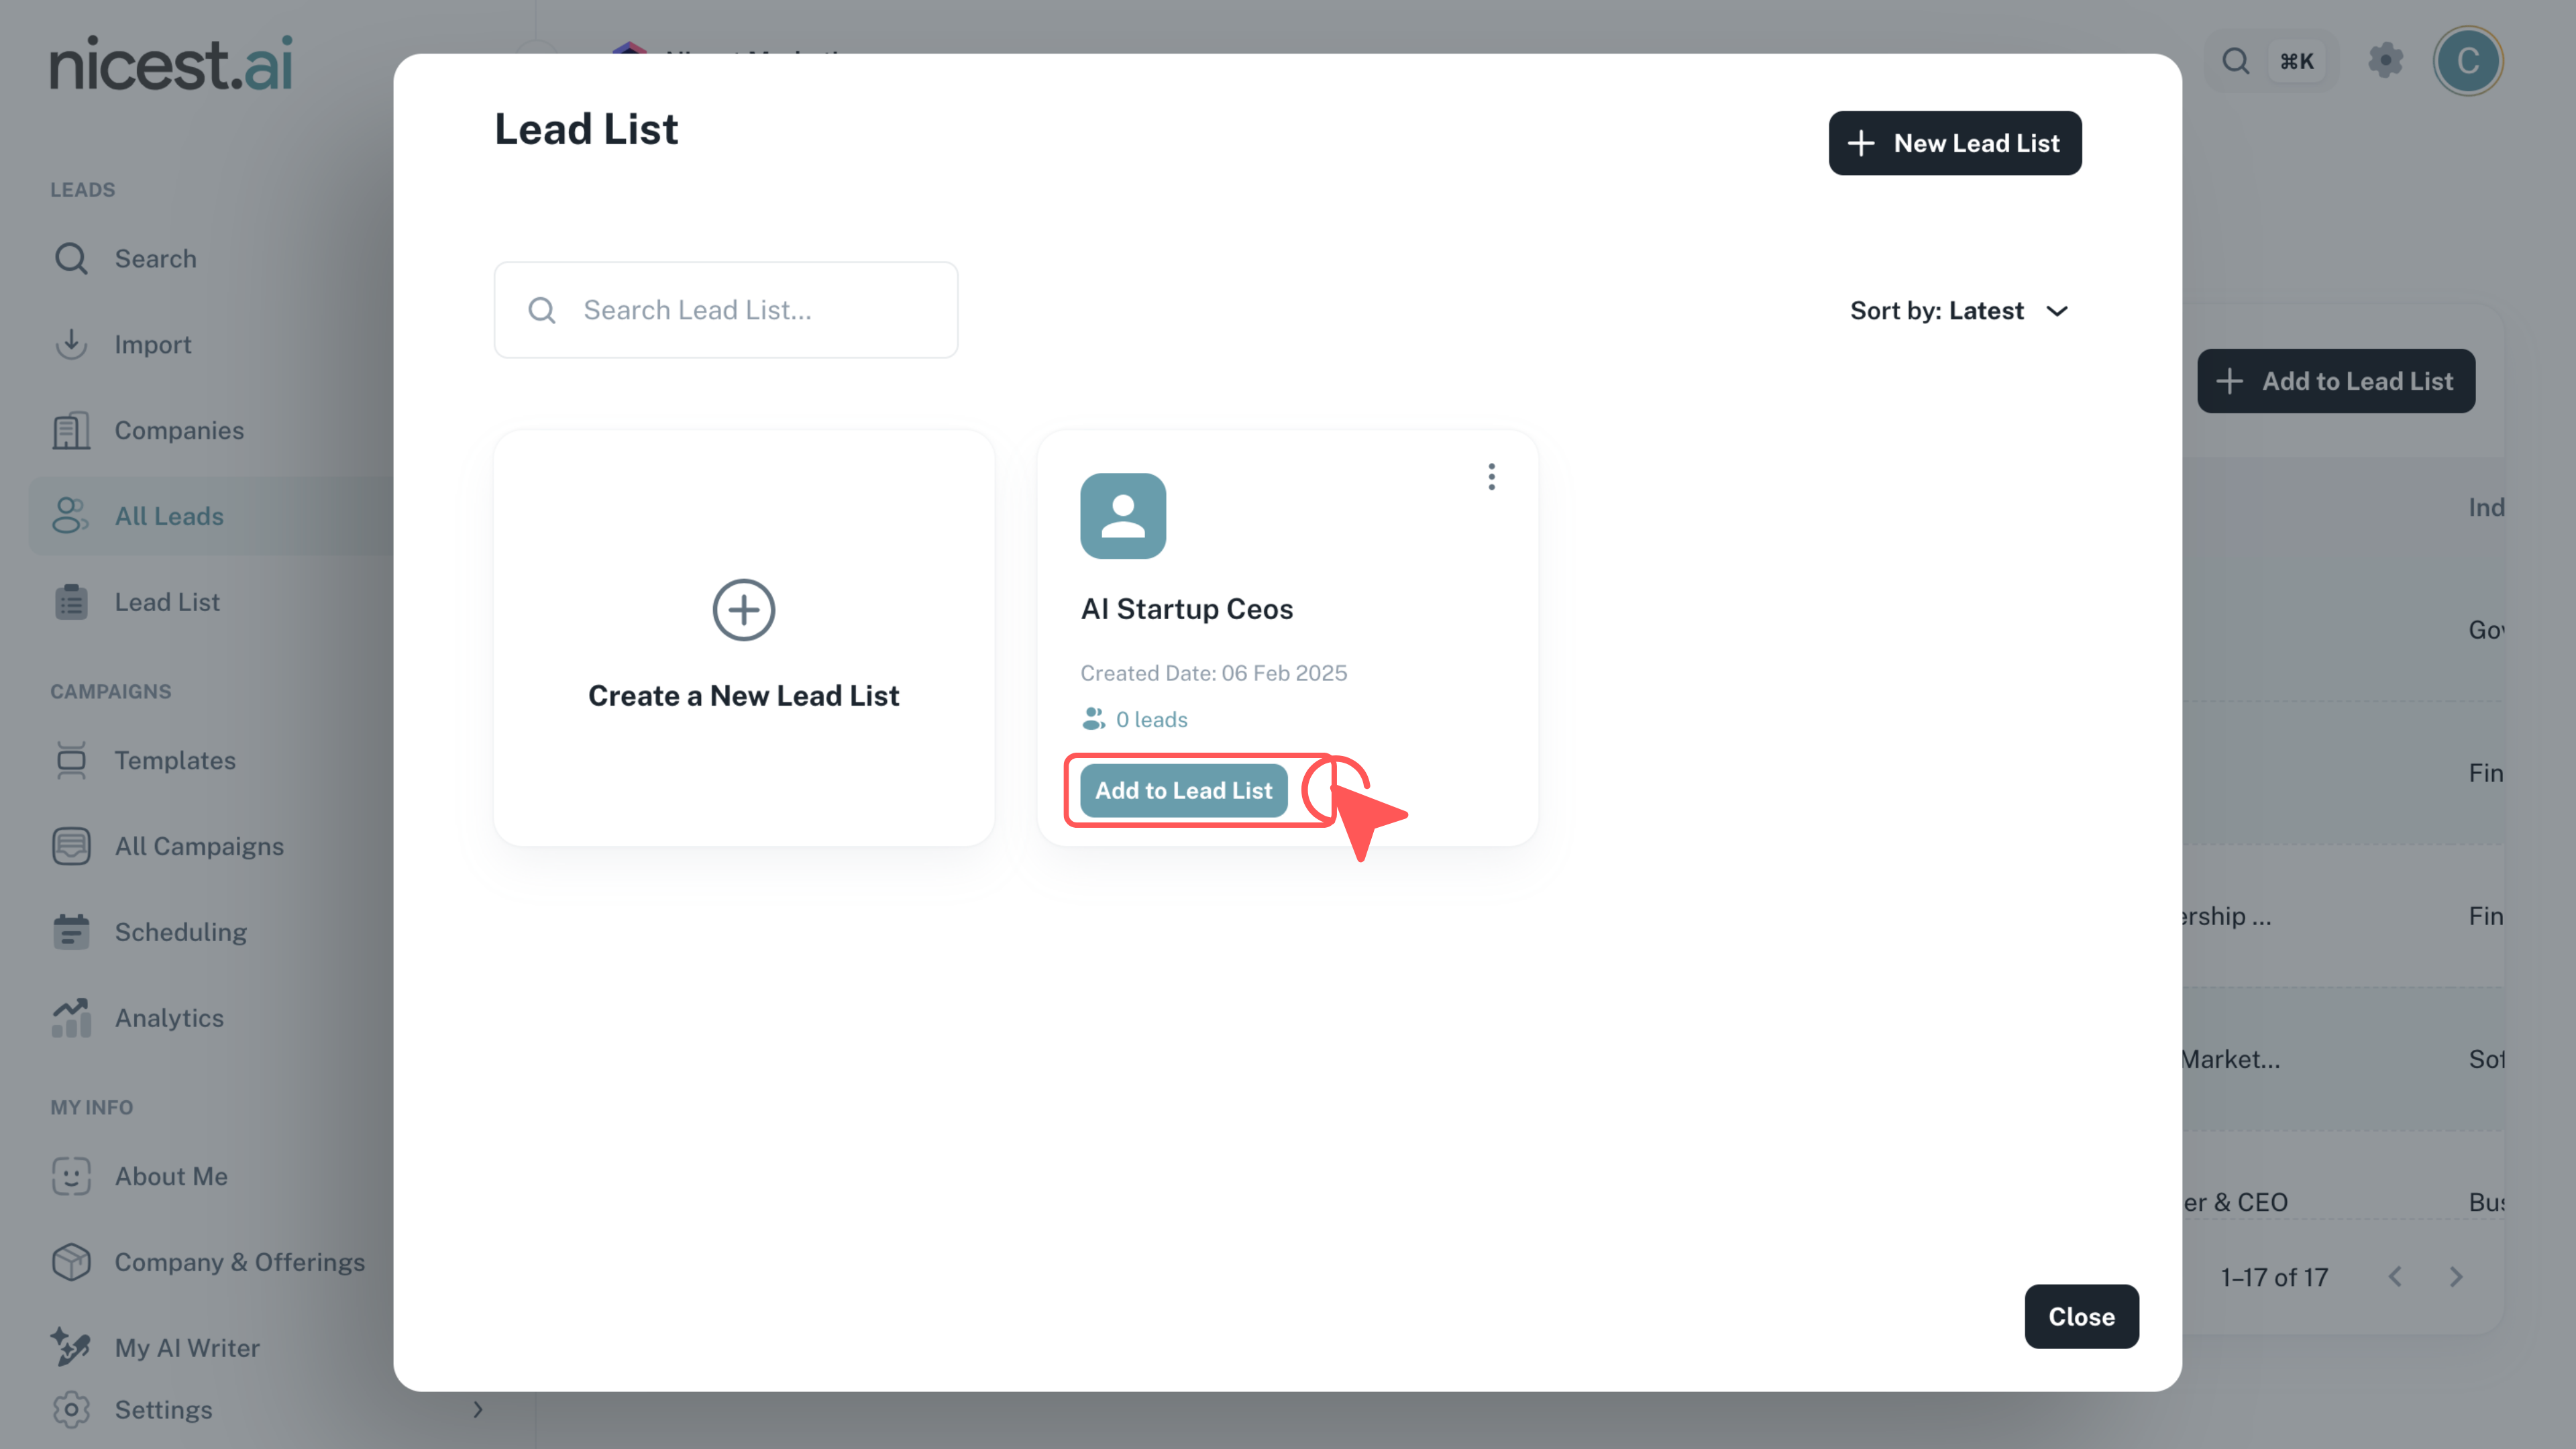
Click 'Add to Lead List' again to confirm and finalize the inclusion of the selected leads into your organized lead list.
- This final confirmation ensures that all chosen leads are successfully added to your list.
- Review the updated lead list to verify that all selections meet your criteria.
7
Export Your Lead List
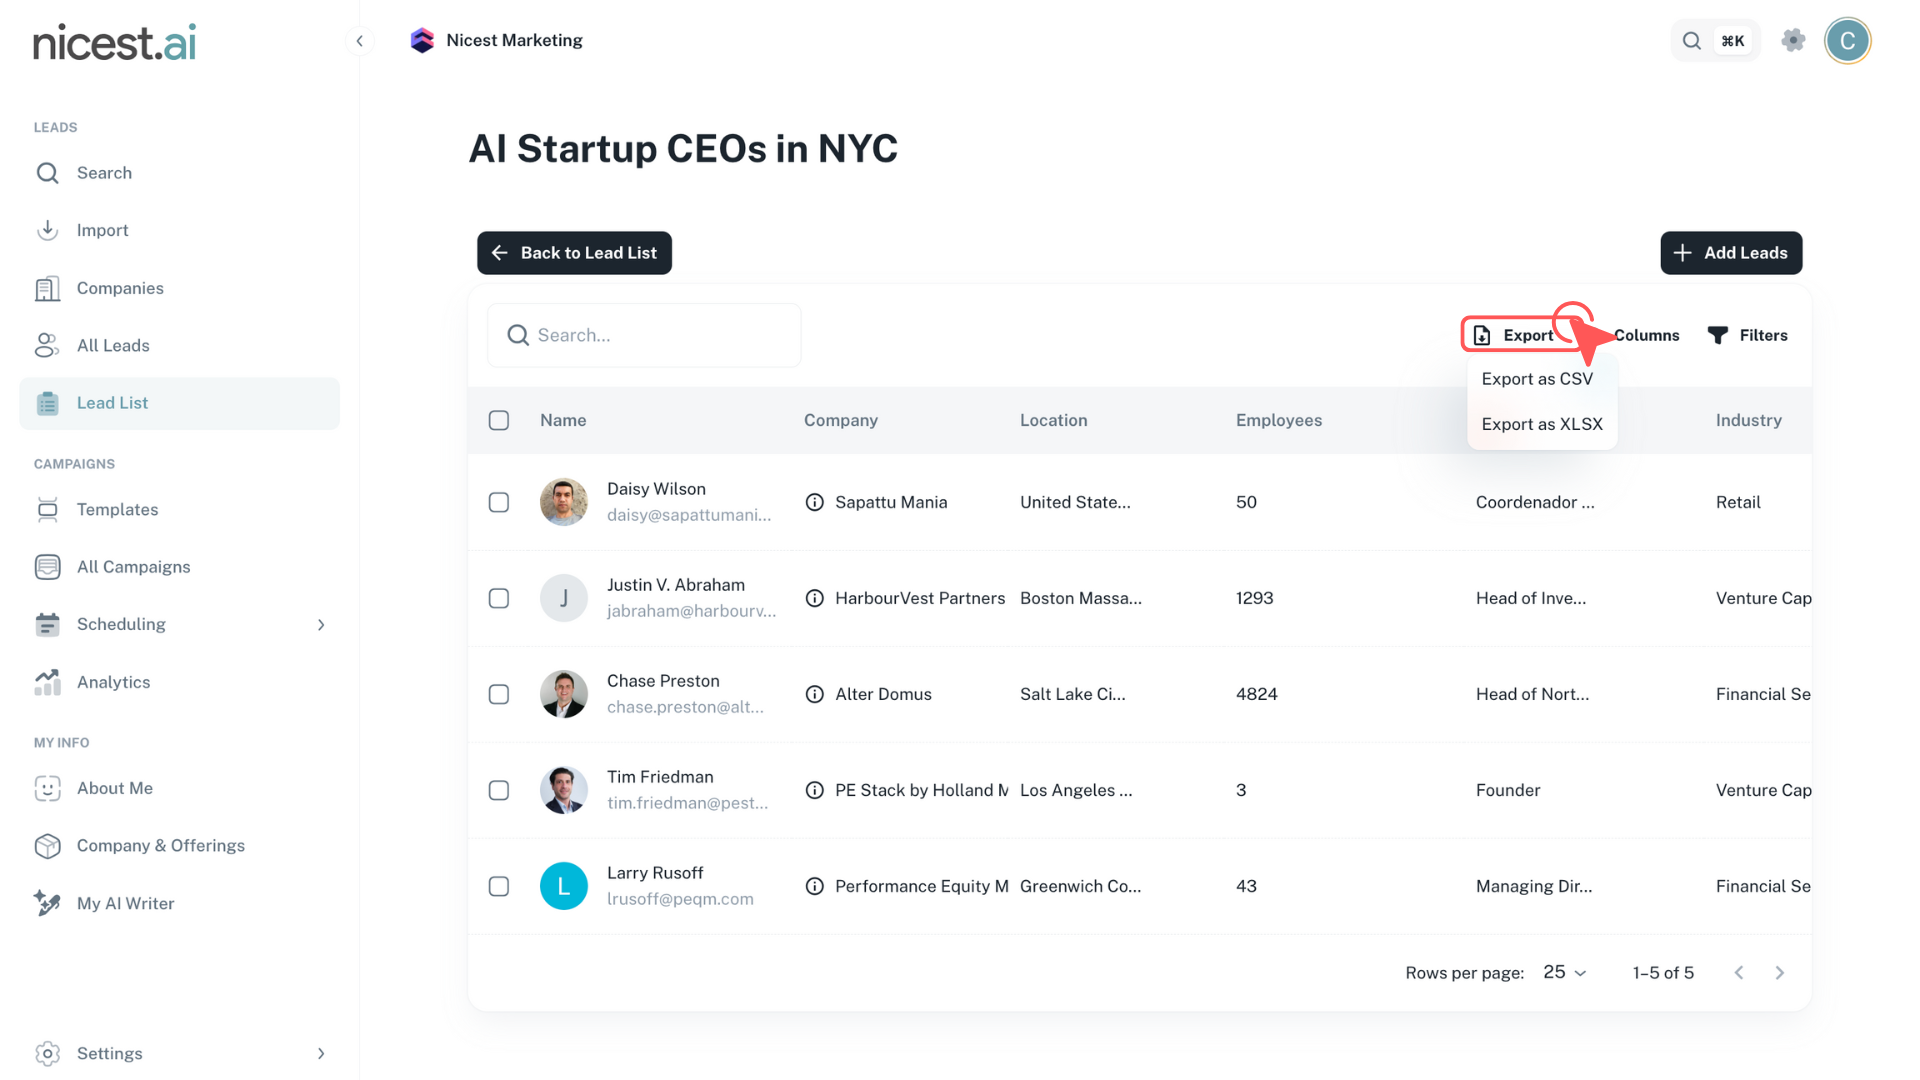
Click the 'Export' button to download your lead list in your preferred format (CSV or XLSX).
- Choose between CSV or XLSX format based on your needs.
- The exported file will contain comprehensive information for all leads in your list.
Tip
- XLSX format is recommended for better formatting and data organization in spreadsheet applications.