Previewing Your Active Campaigns
This guide shows you how to access and review your active campaigns through the “View Active Campaigns” feature, allowing you to effectively manage your email scheduling and align your campaign timeline with your outbound strategy.
Step-by-Step Instructions
1
Sign into Your Account
Access your account by signing in at app.nicest.ai to begin the process of managing your active campaigns.
- Ensure you are using your correct credentials.
- Familiarize yourself with the dashboard once logged in.
2
Access the View Active Campaigns Feature
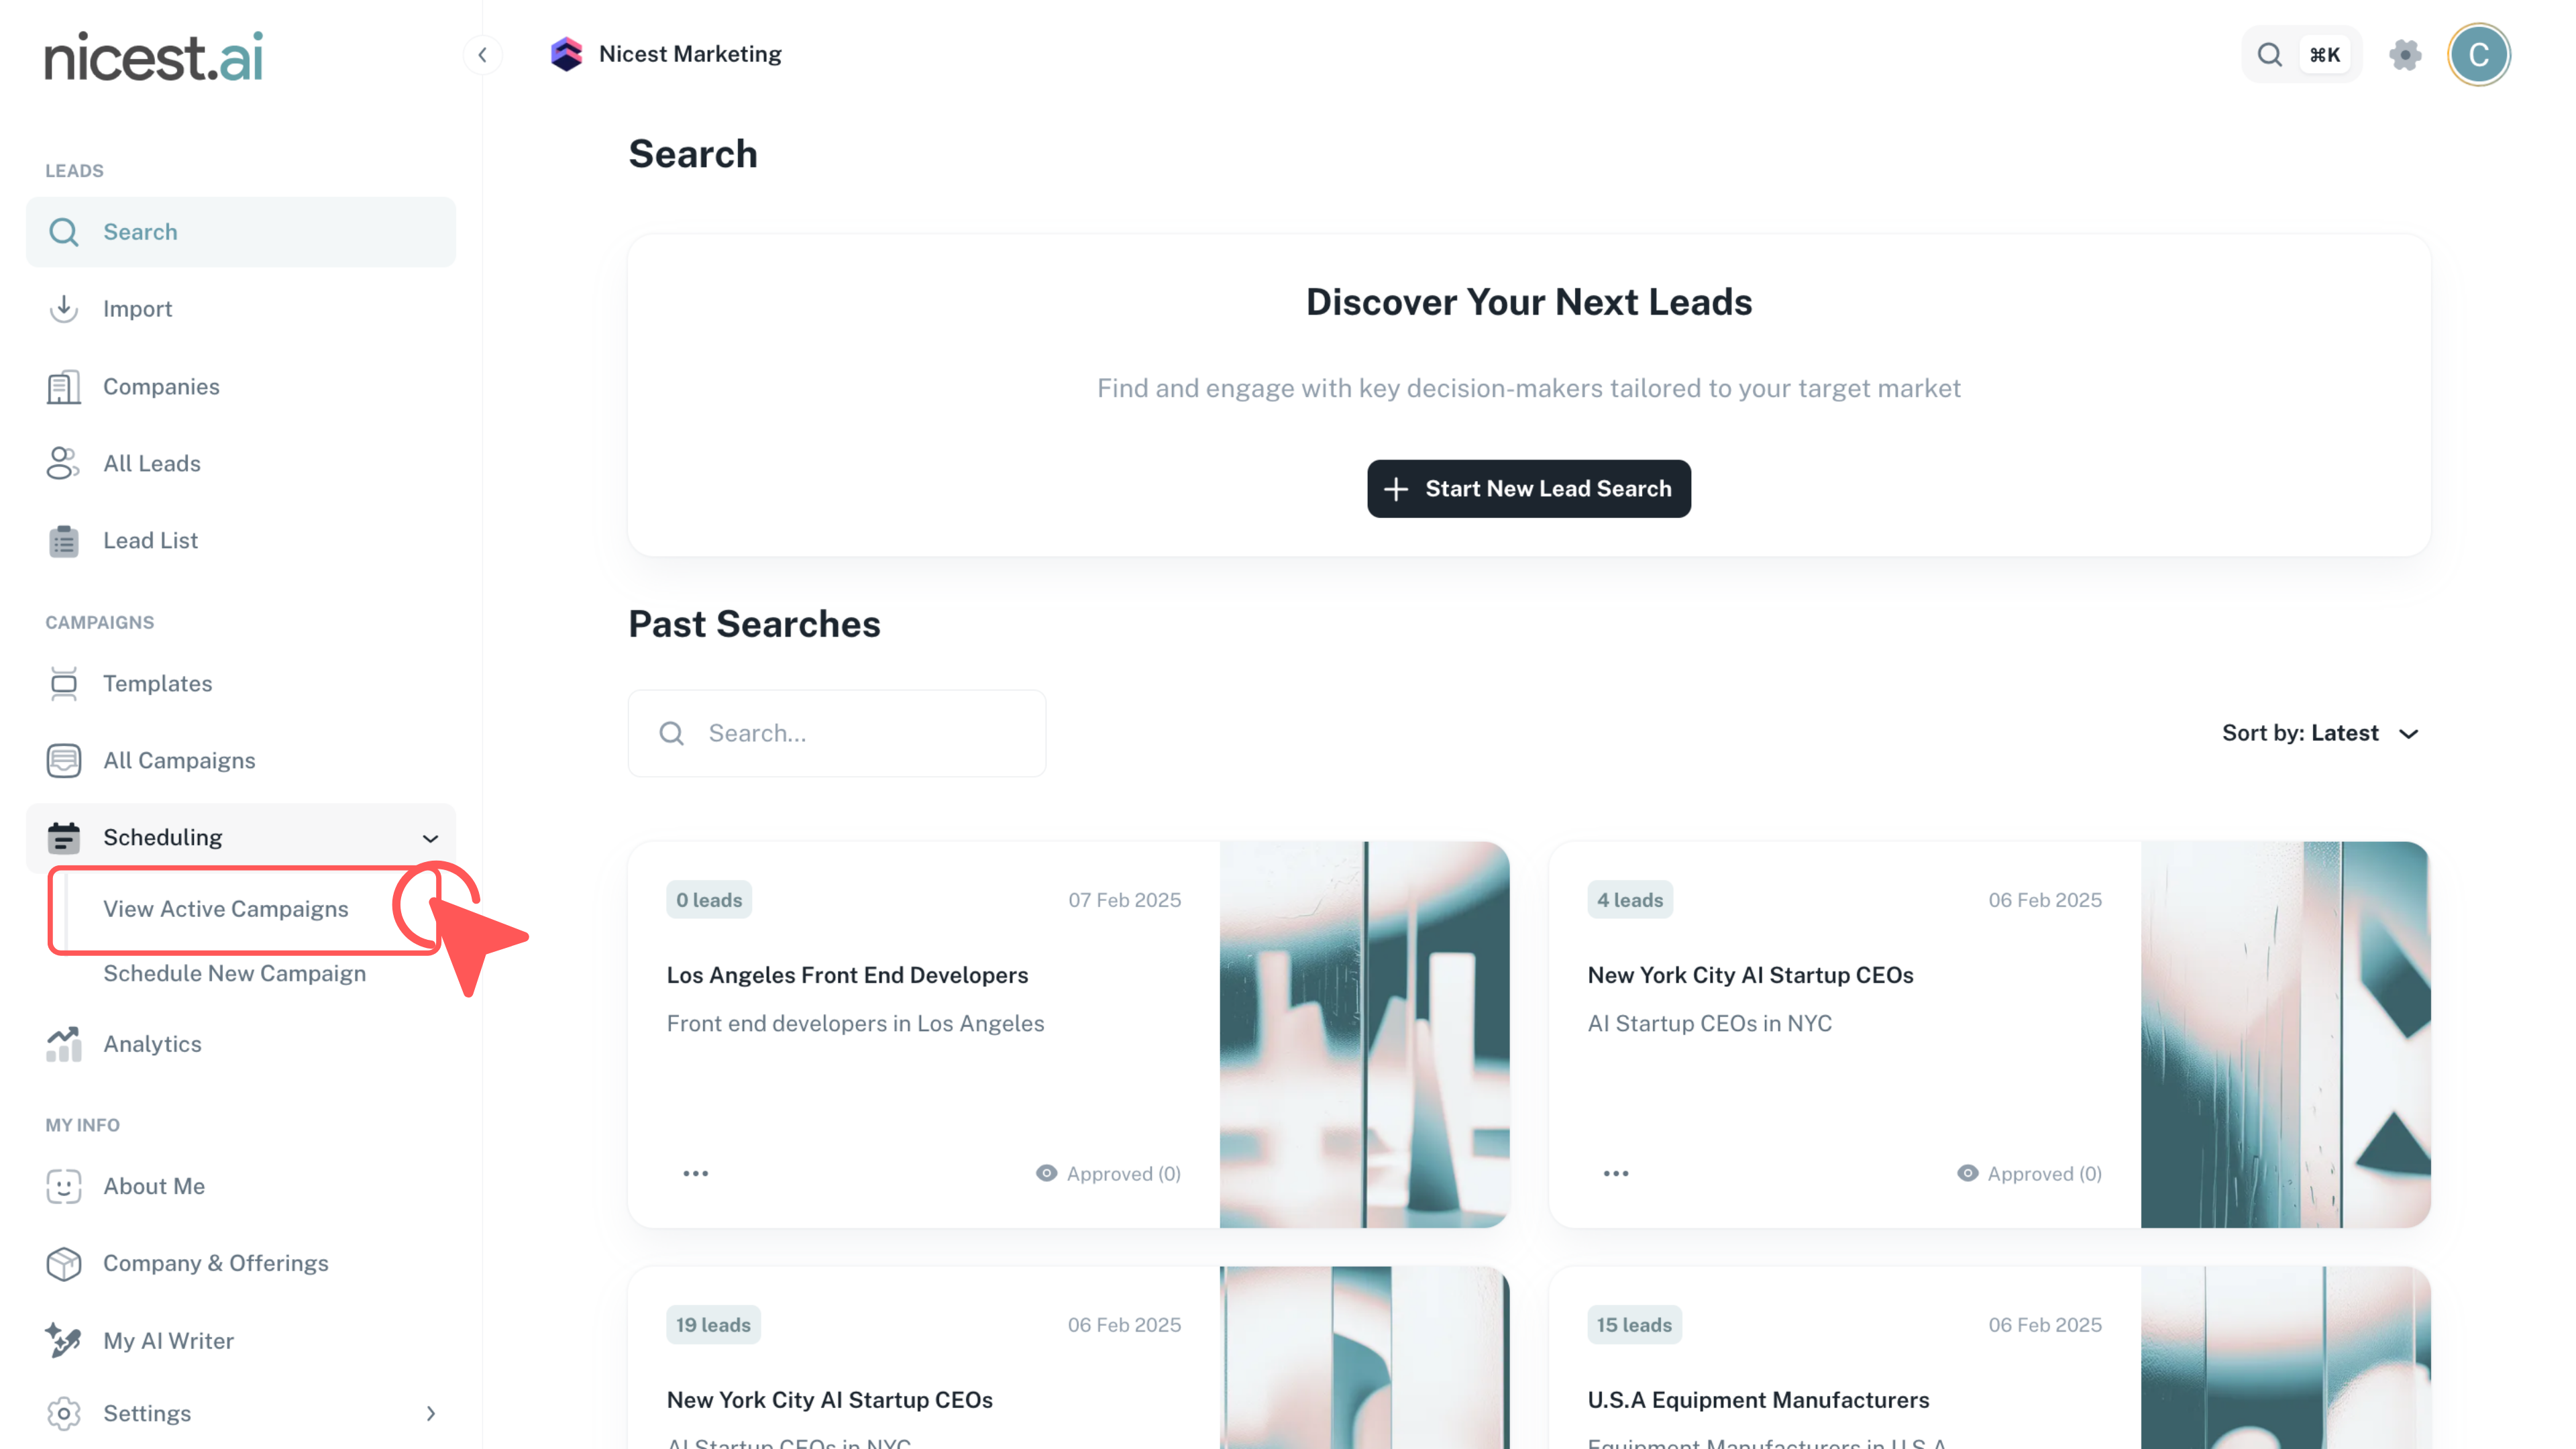
Navigate to the 'Scheduling' tab and click on 'View Active Campaigns' to access your current campaign overview.
- Locate the 'Scheduling' tab on the left-side menu.
- Click on 'View Active Campaigns' to load your campaign preview.
3
Preview Your Active Campaigns
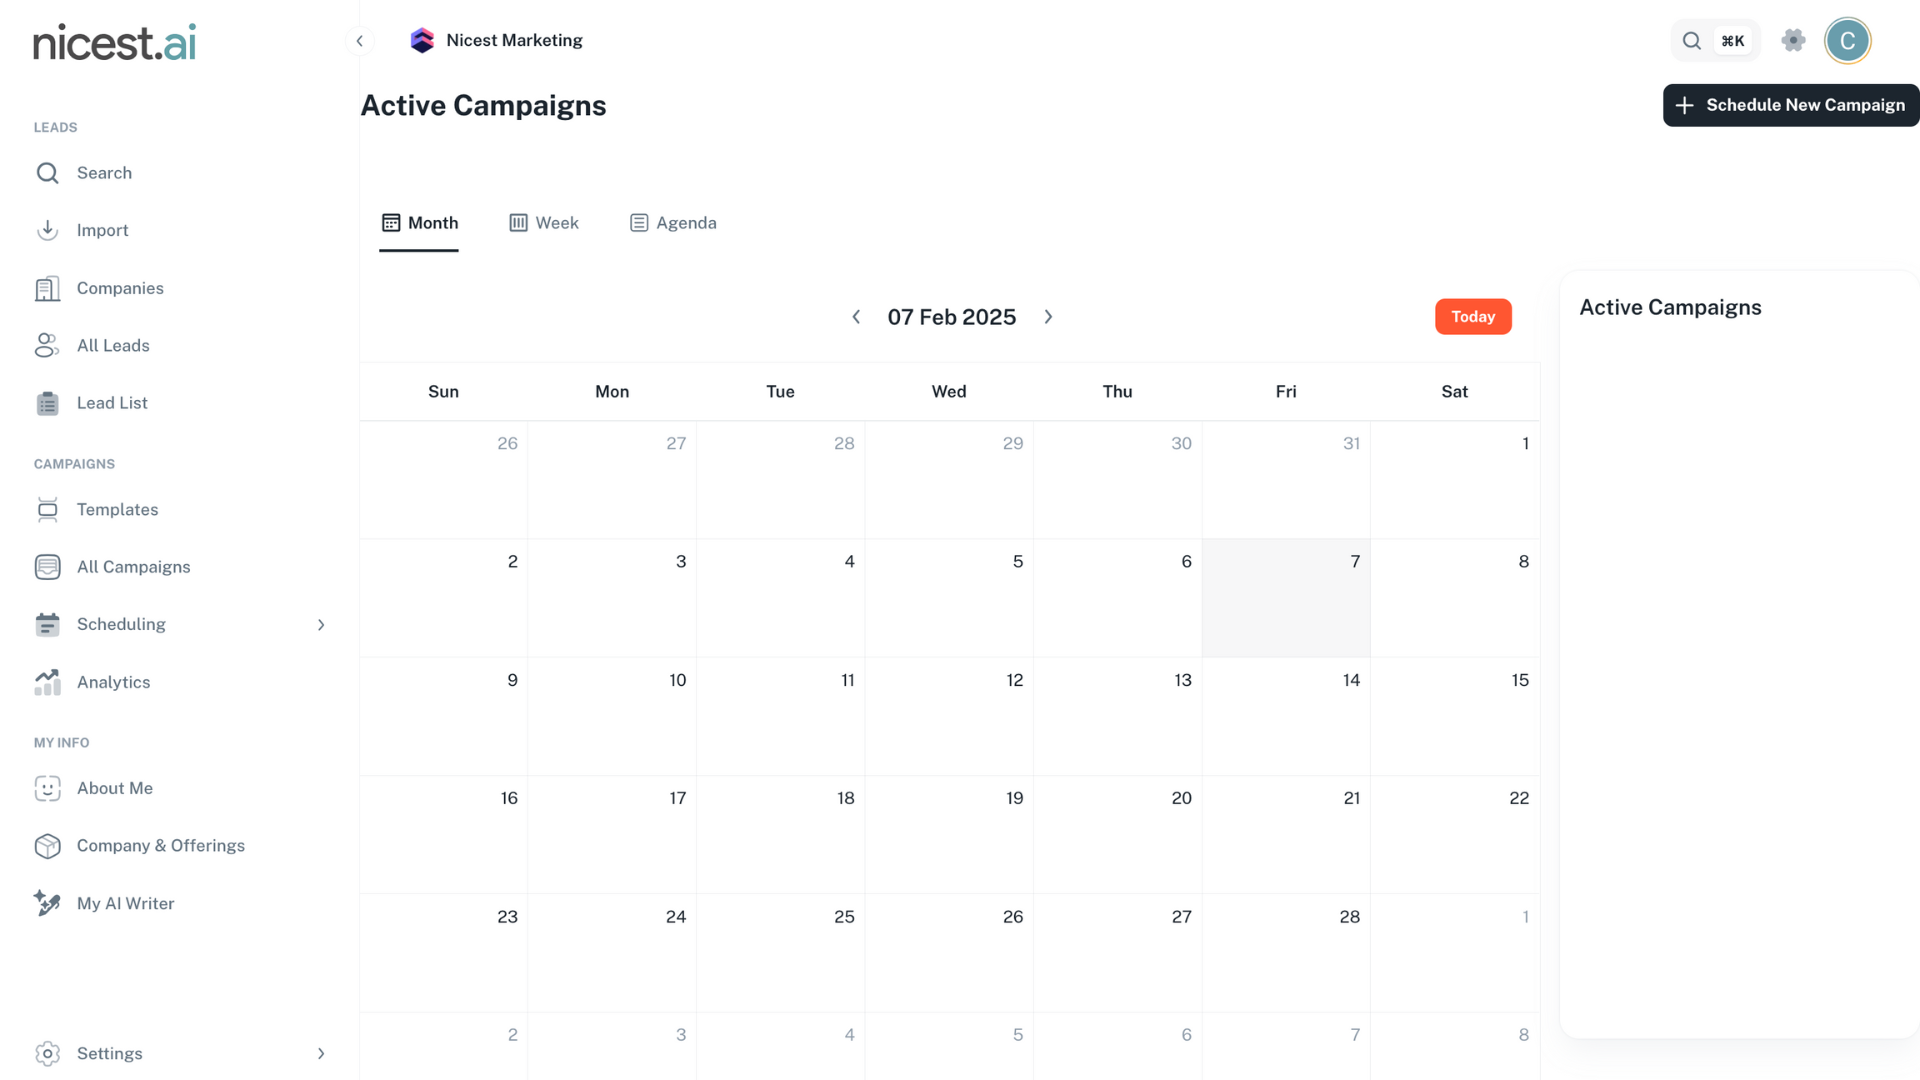
Once in the View Active Campaigns section, preview your campaigns using the Month, Week, or Agenda view options.
- Select 'Month', 'Week', or 'Agenda' view to see your active campaigns in a sequential timeline.
- Gain clear insights into when your emails are scheduled to be sent.
Note
- Using different views helps in effective planning and timely adjustments to your campaigns.